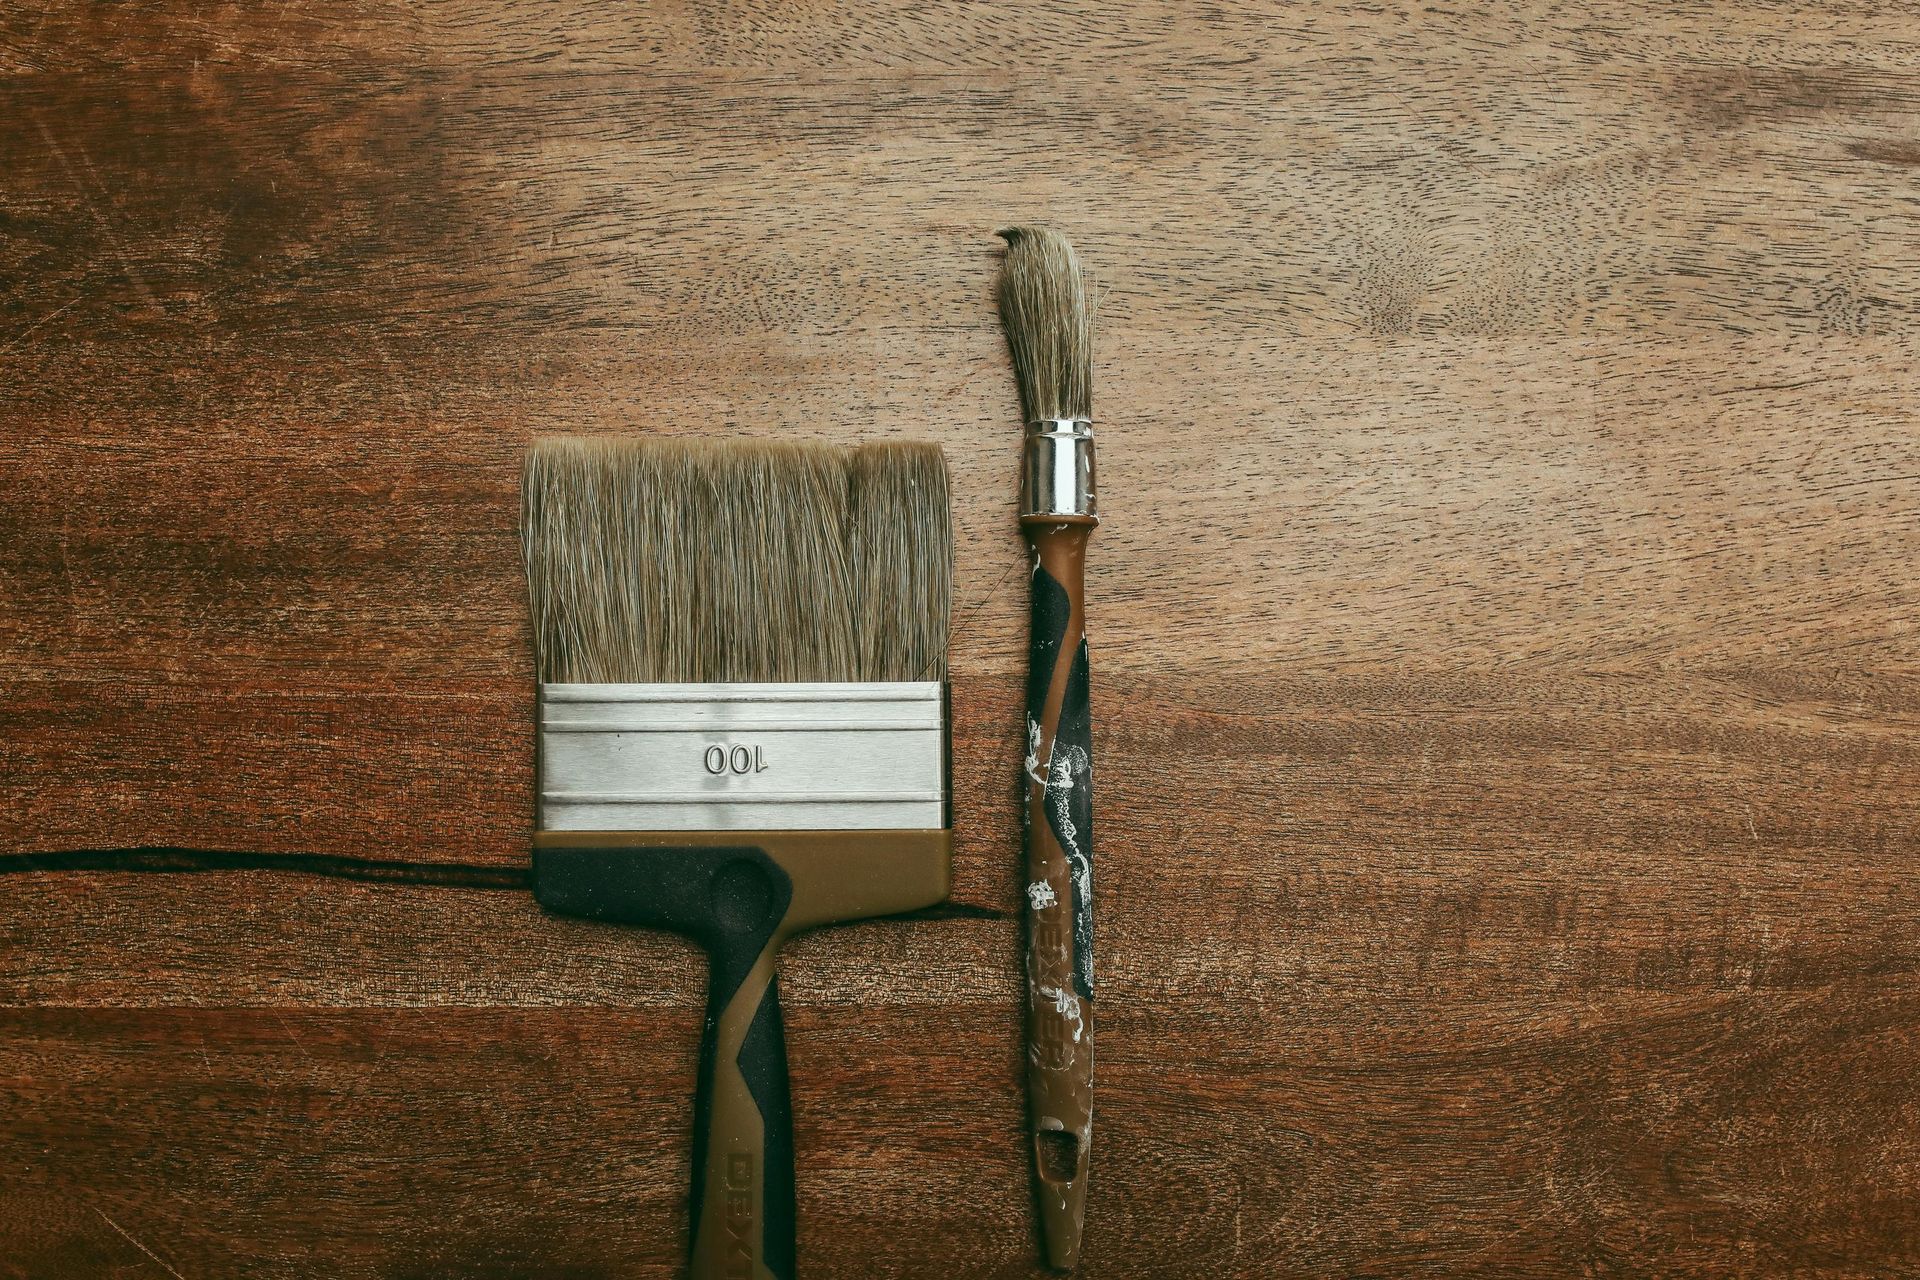
Let's Talk Paint!
Planning a summer painting project for your school, church, or facility? Learn how to prioritize projects, maximize short break windows, and set realistic expectations for a successful summer refresh.
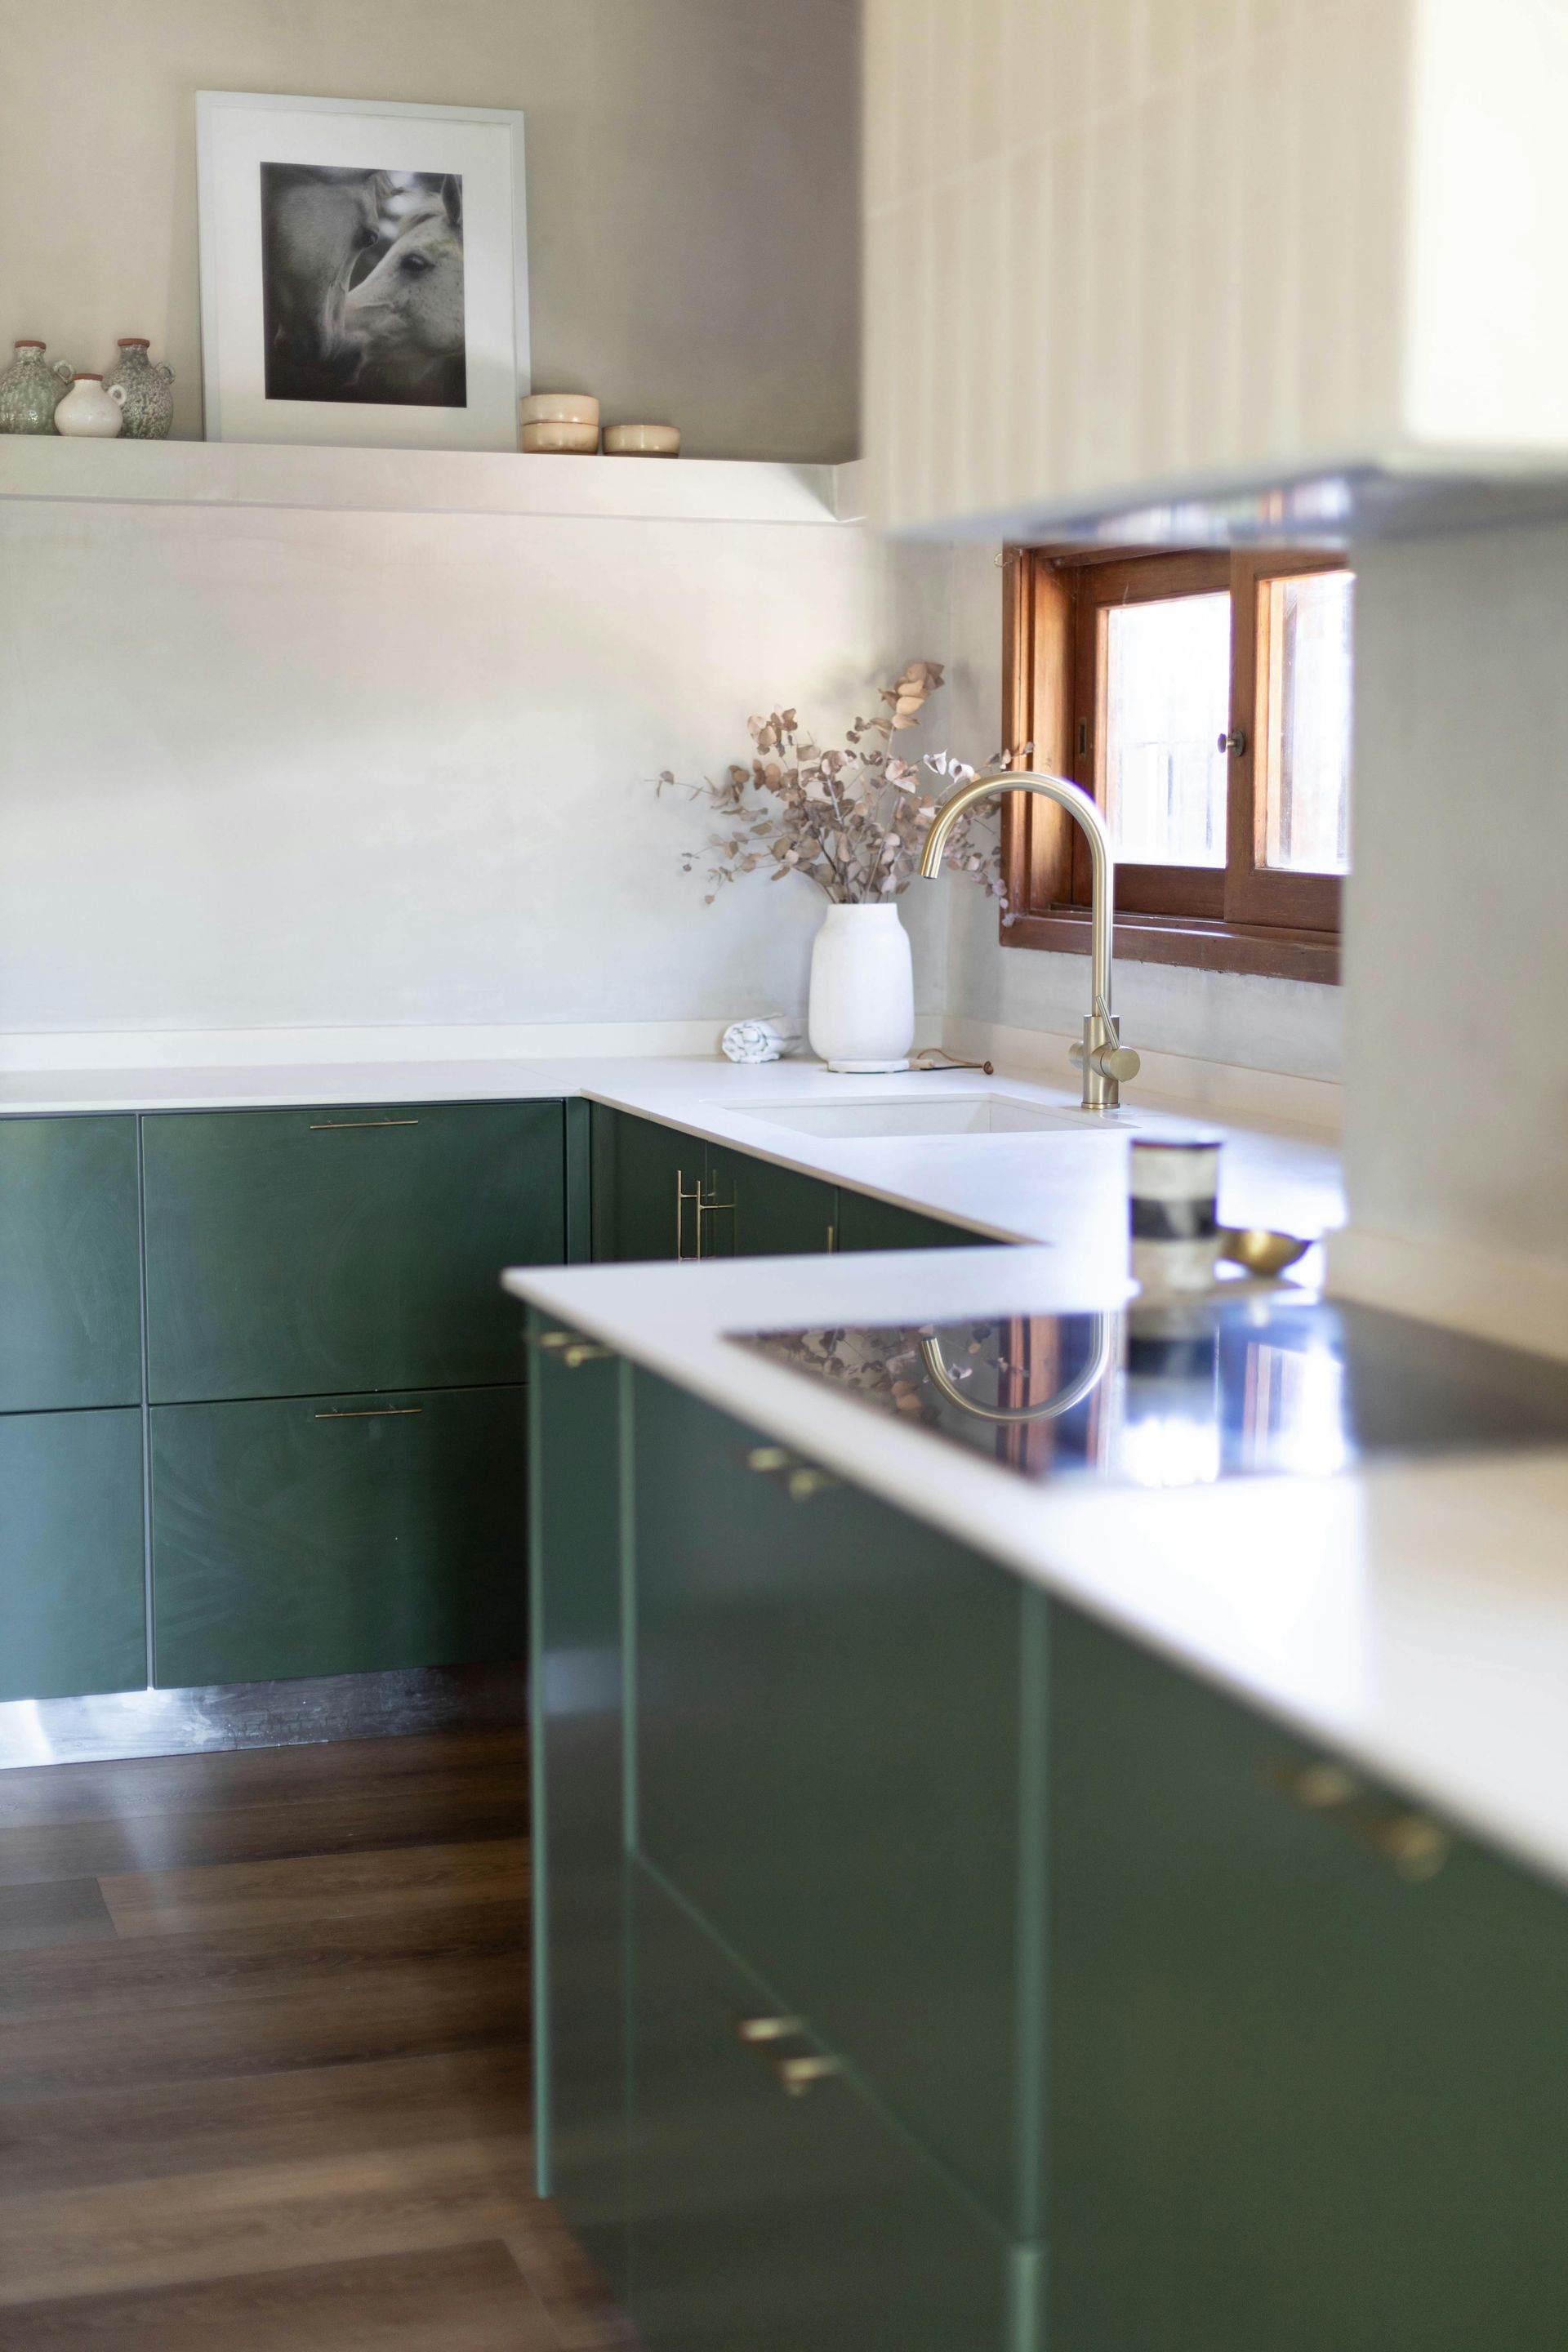
Thinking about painting your kitchen cabinets? Learn what cabinet painting typically costs, how long the process takes, and when painting makes more sense than replacing your cabinets.
Not sure whether to paint this year or wait until next year? Learn how to evaluate your home's condition, budget, future plans, and the true cost of delaying a painting project.
Planning an HOA painting project? Learn how boards and property managers can budget realistically, phase projects strategically, and improve the approval process for large exterior maintenance projects.
Is deck staining actually worth the cost and maintenance? Learn how long deck stain lasts, what happens if you skip it, and when a deck may be too far gone to stain.
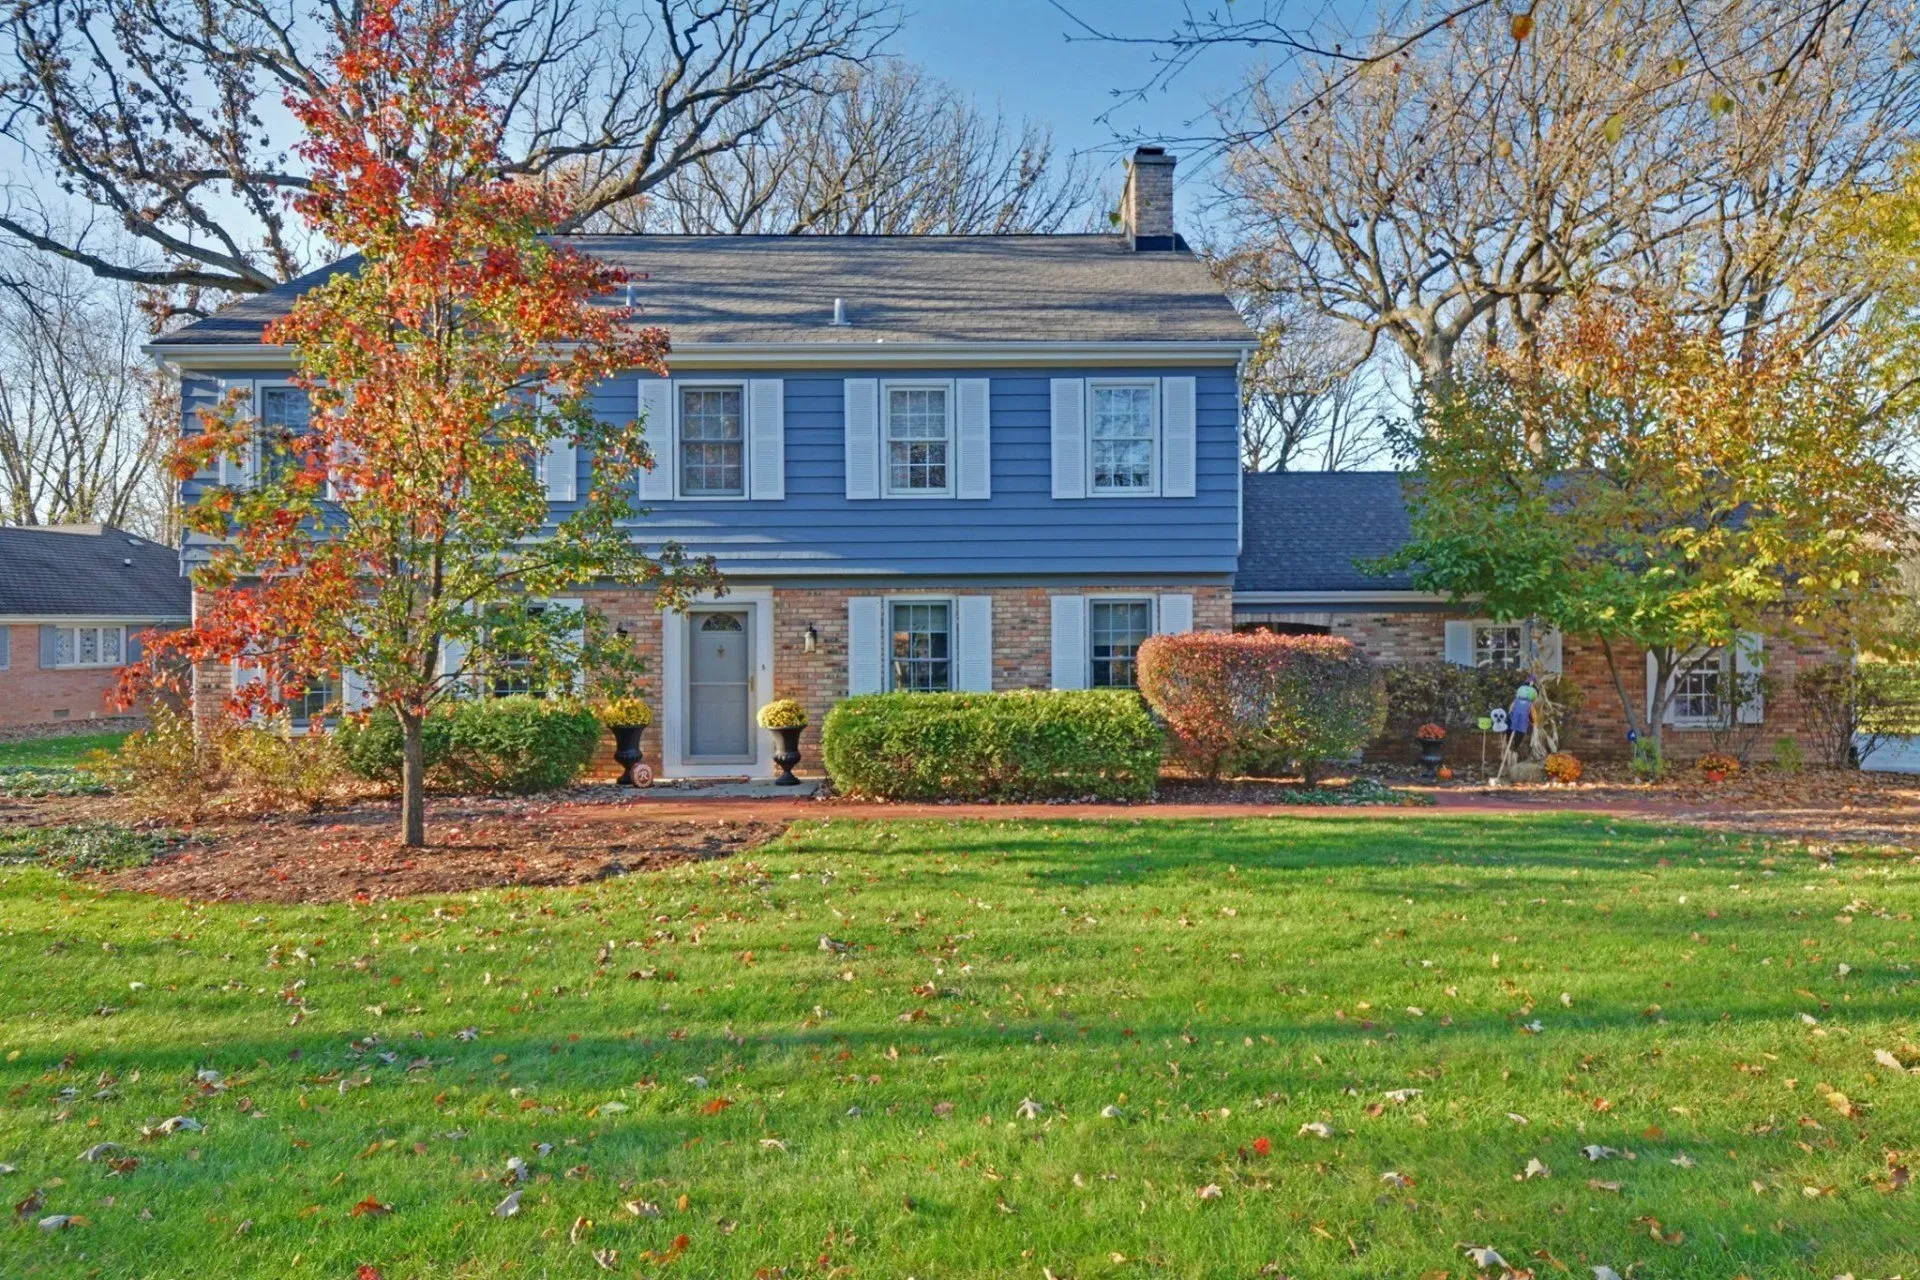
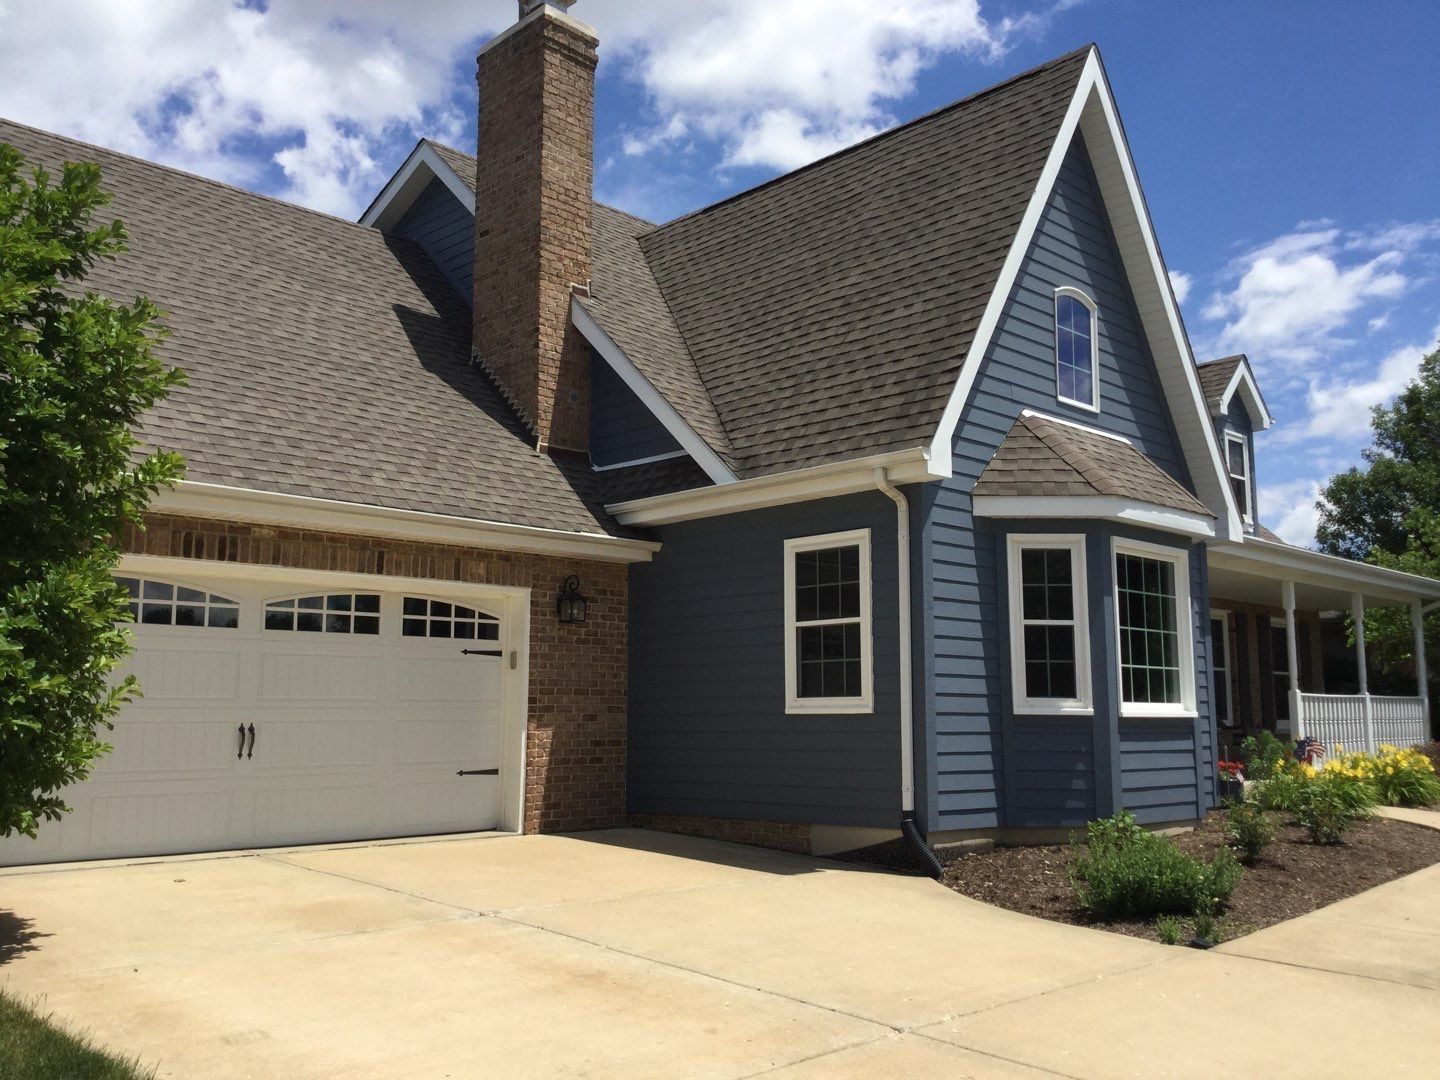
Wondering how long exterior paint actually lasts? Learn what affects paint longevity, from siding type and sun exposure to prep work and weather conditions.
Property managers in Chicago and NW Indiana: learn how to prioritize painting projects, protect your property, and avoid overspending this season.
Thinking about exterior painting? Find out which projects deliver the best ROI and where your investment will make the biggest difference.
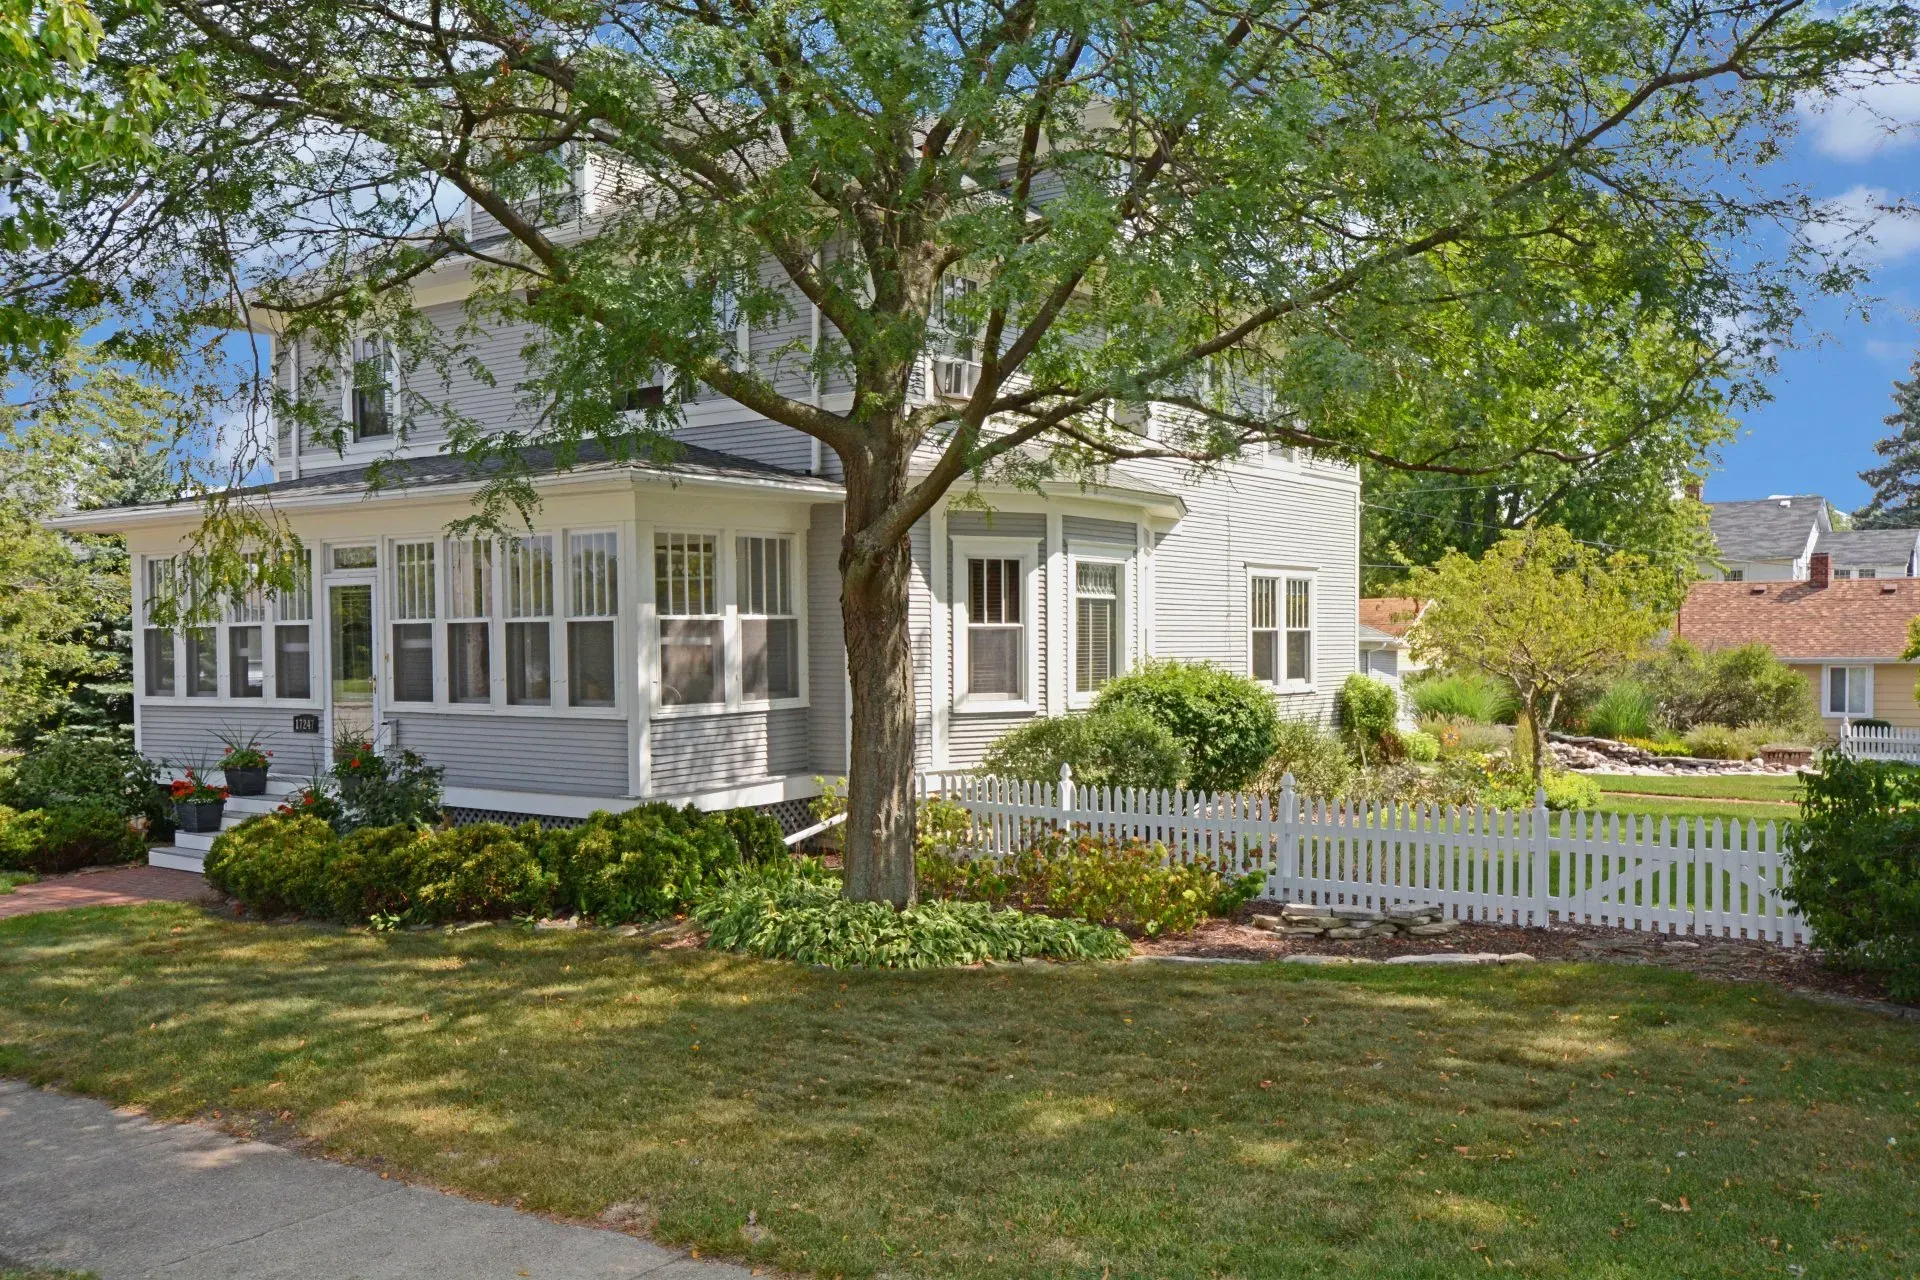
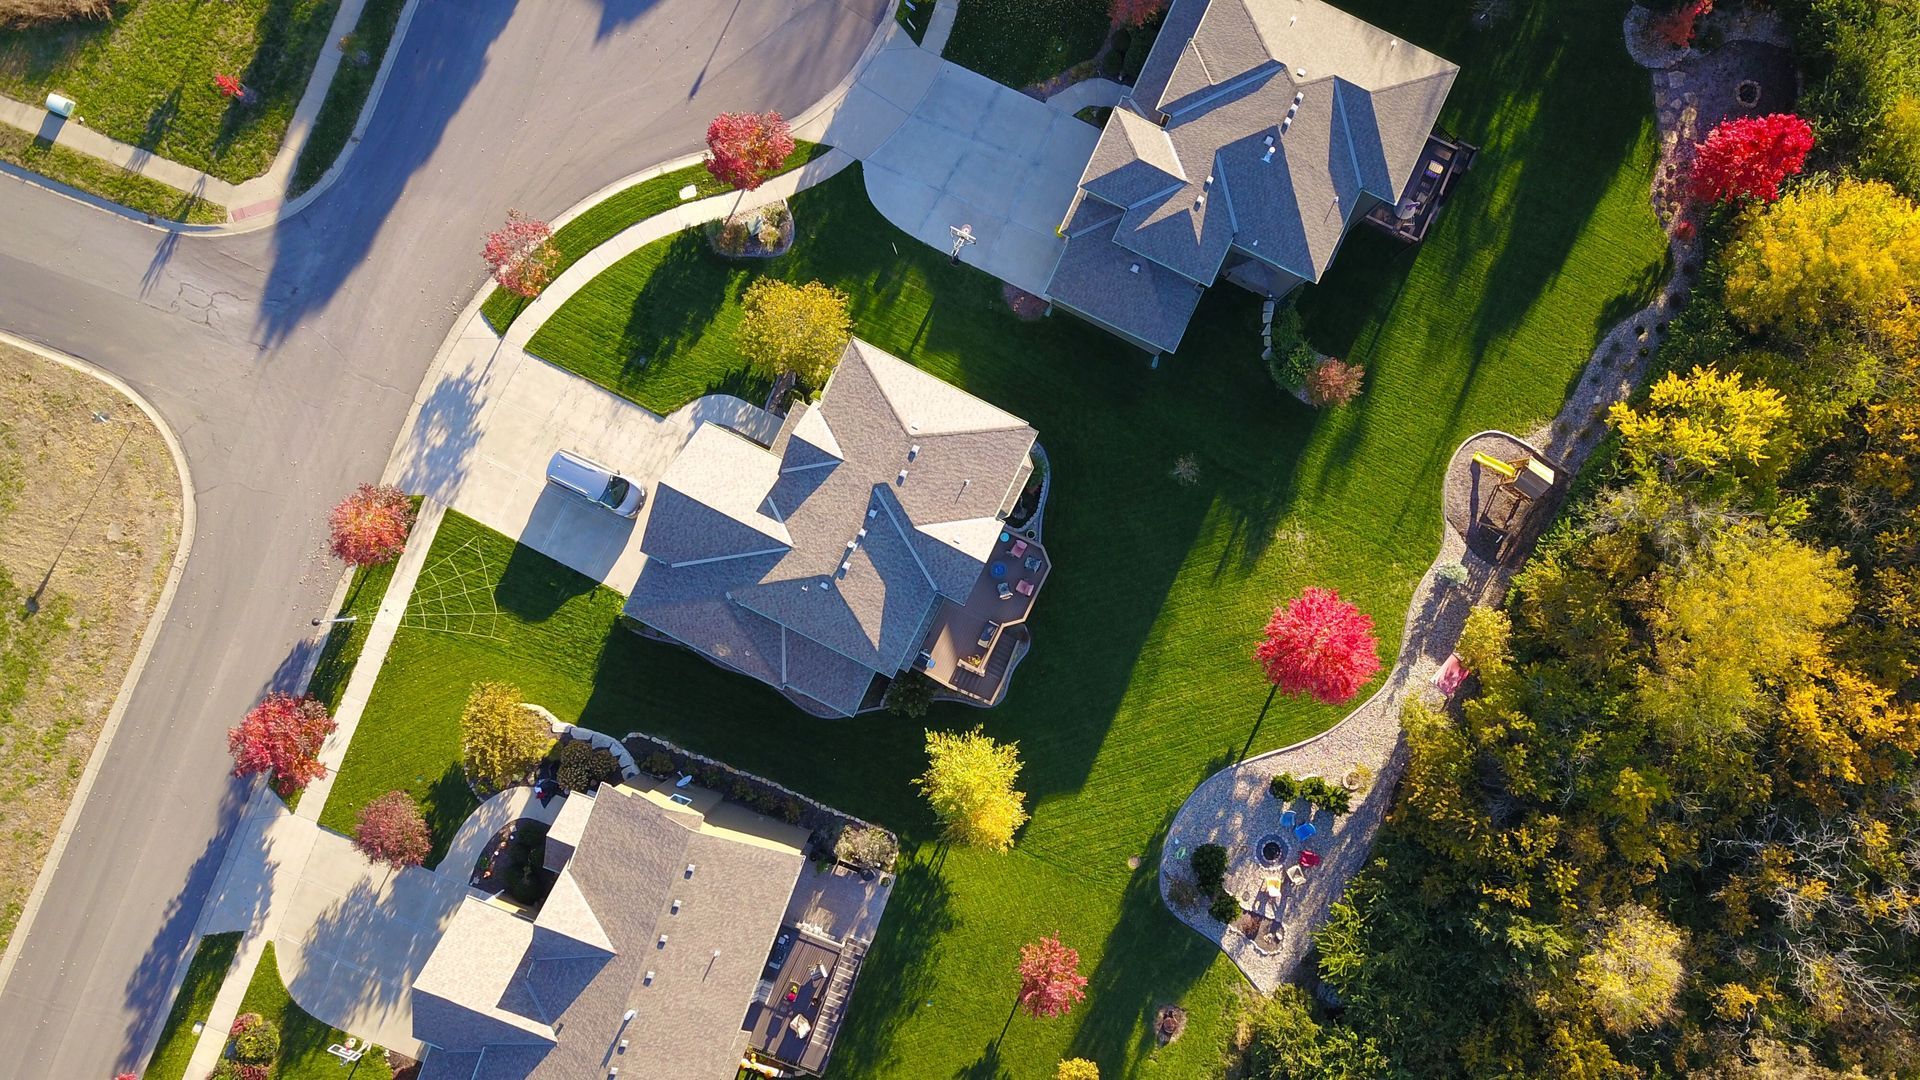
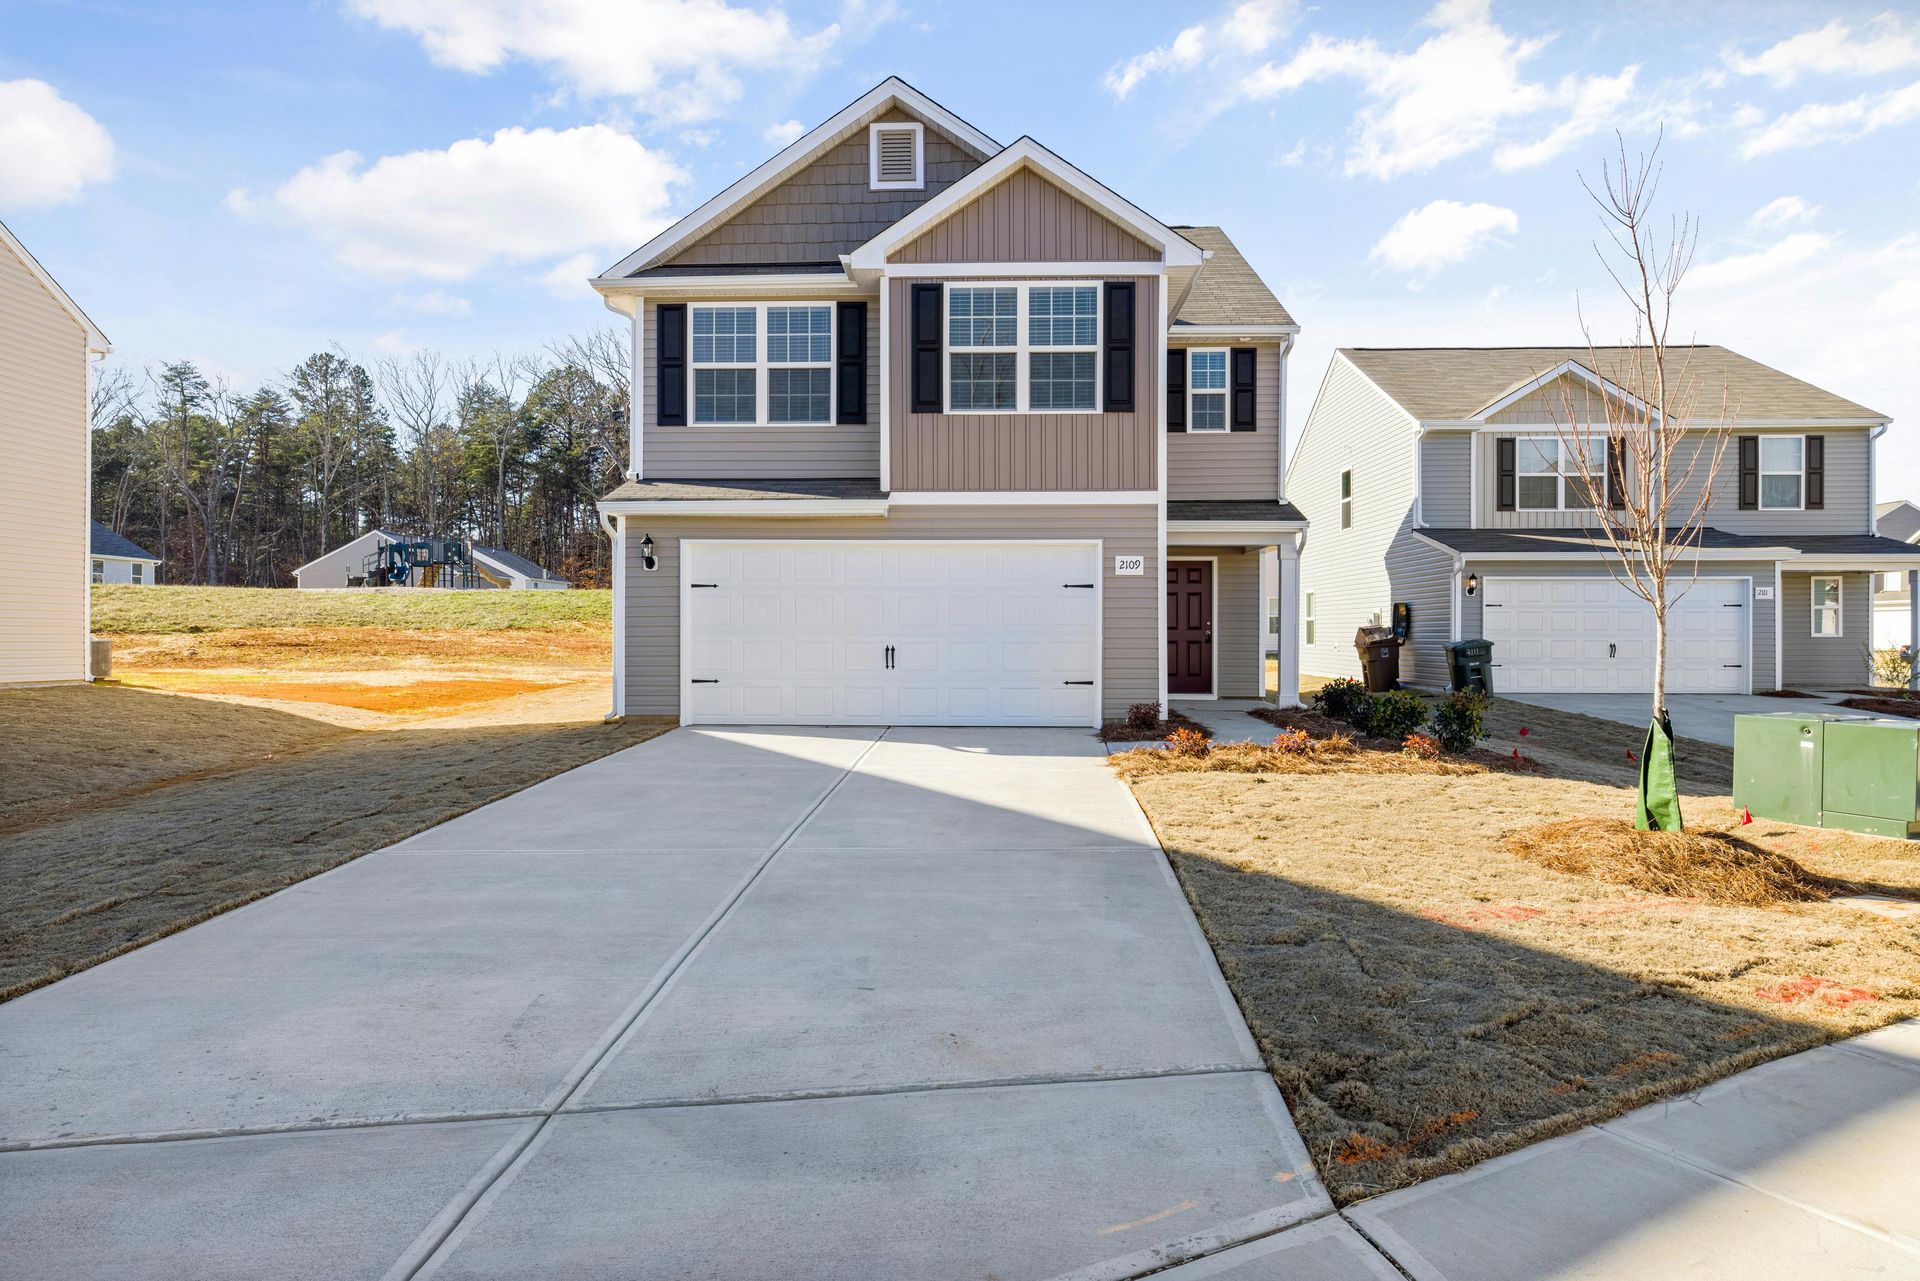
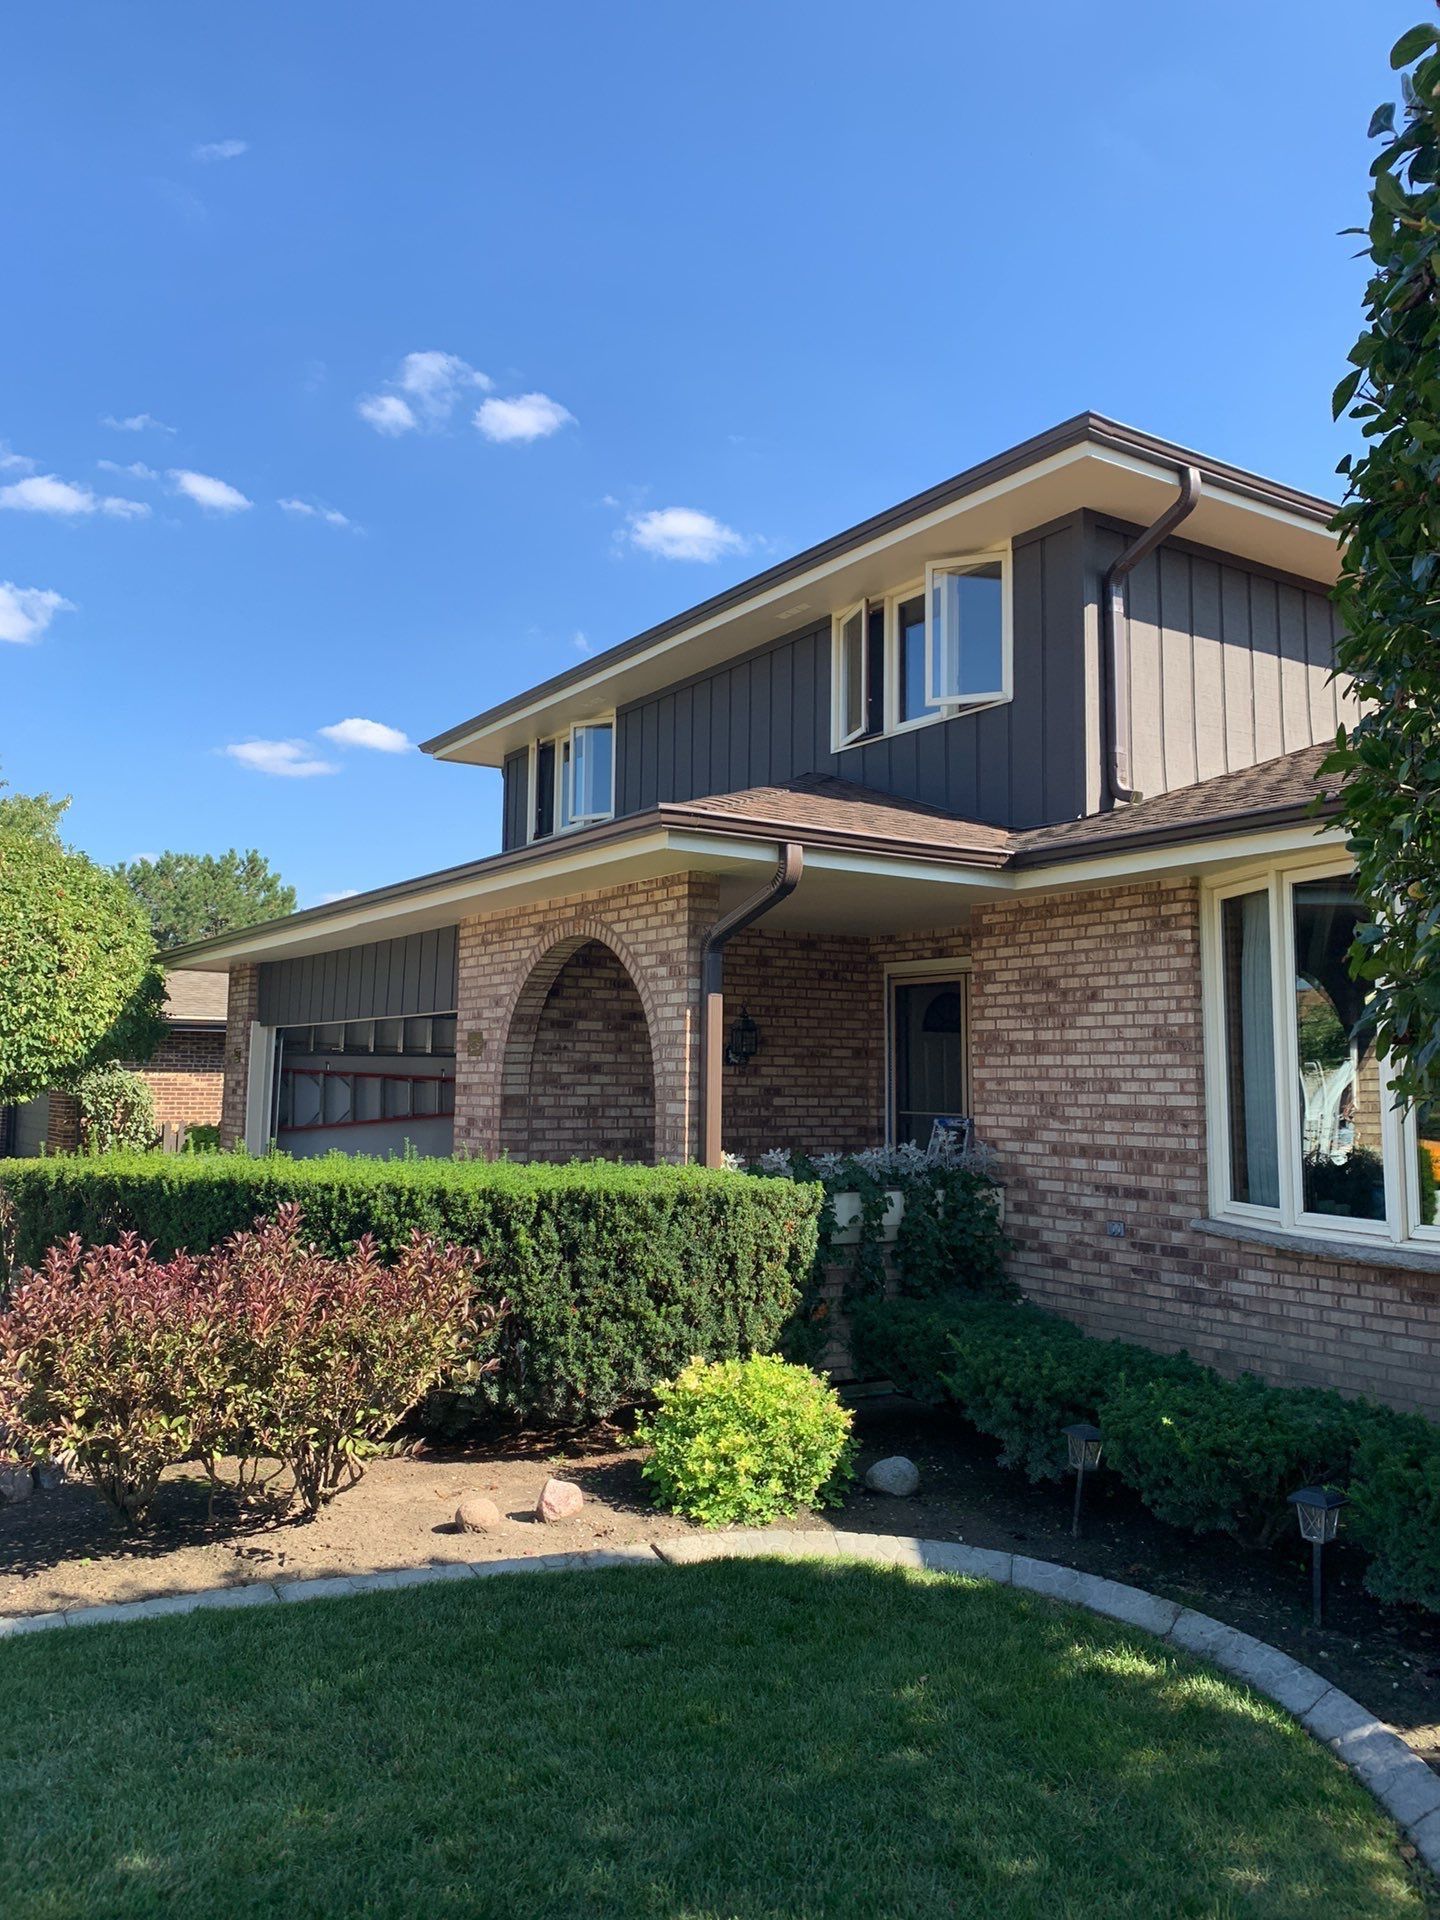
Wondering if your home actually needs exterior painting? Learn the real signs to look for—and how to tell if you can wait or should act sooner.
Spring exterior work fills quickly. This HOA planning guide explains what boards should inspect, schedule, and approve now for smooth spring projects.
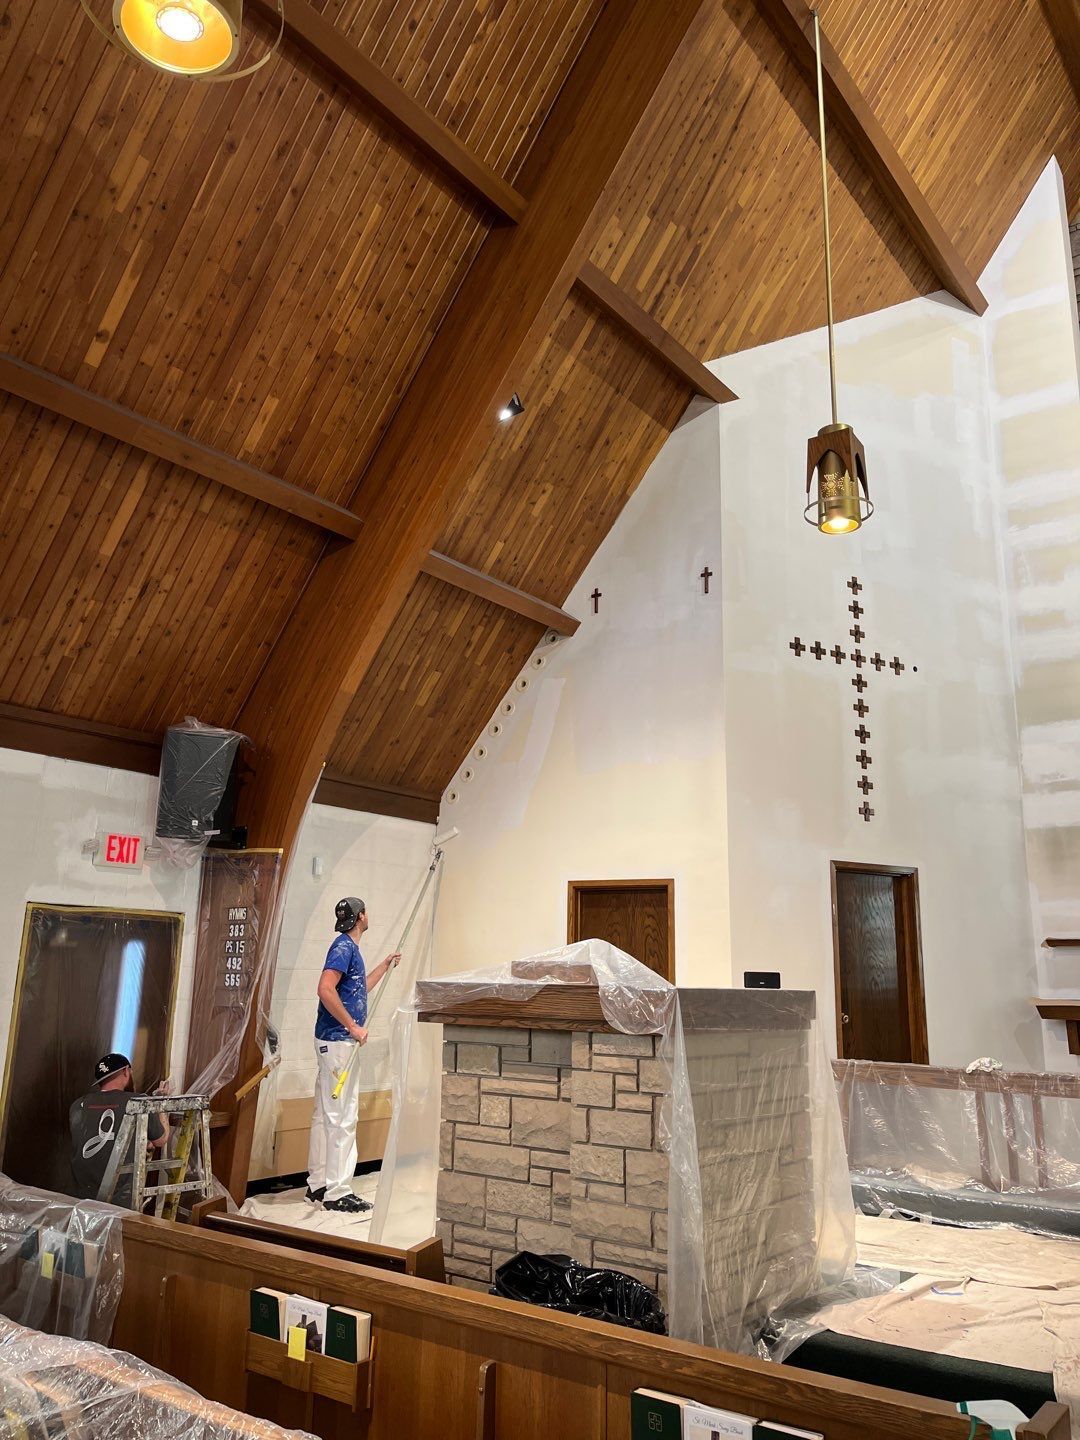
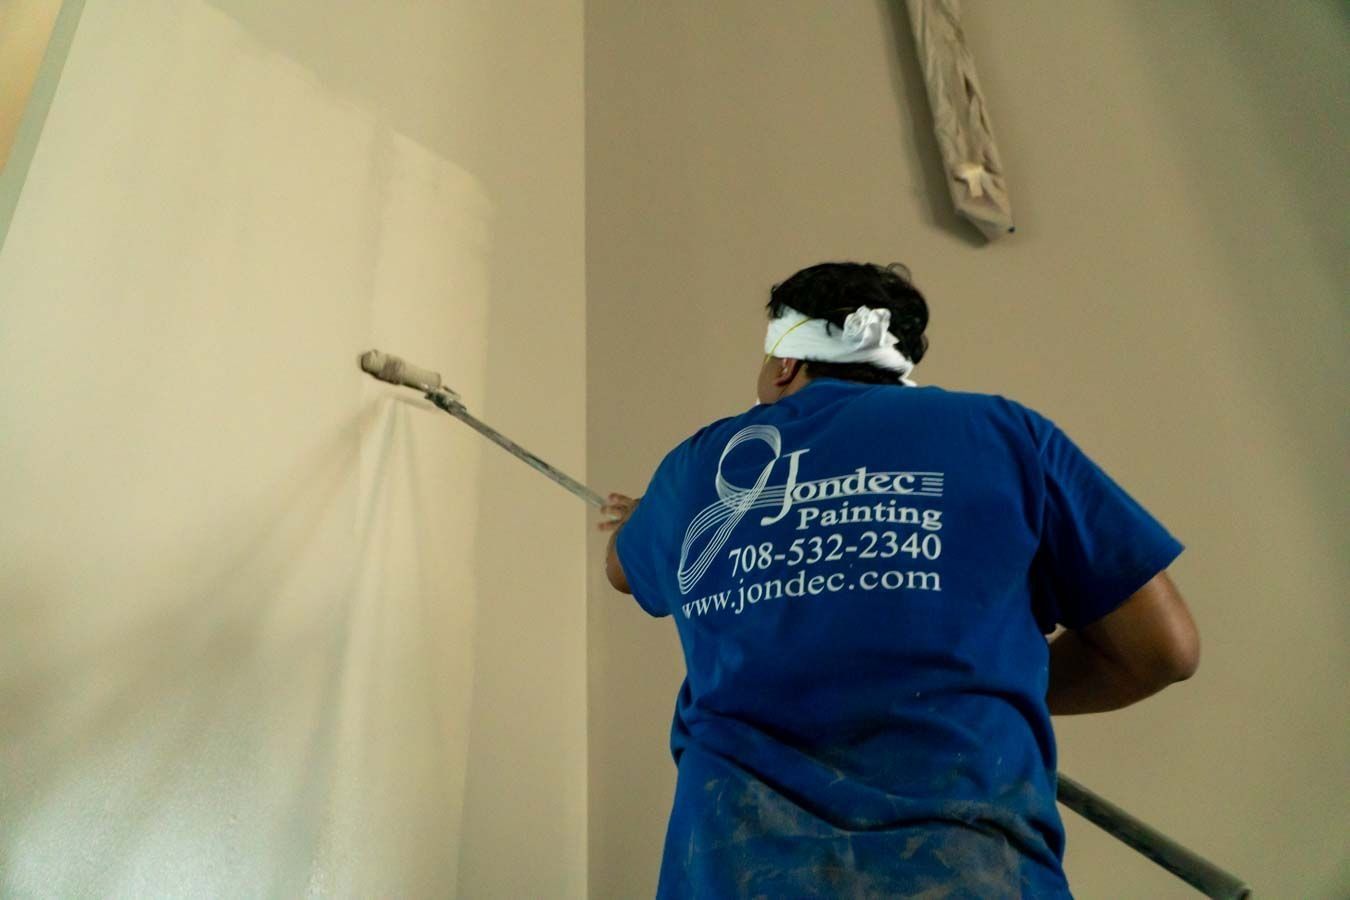
See how Jondec Painting completed a Chicago church project with careful planning, clean execution, and minimal disruption to services and daily activities.
Thinking about exterior painting this spring? Use this prep checklist to inspect your home, prevent paint problems, and secure your spot on the spring calendar.
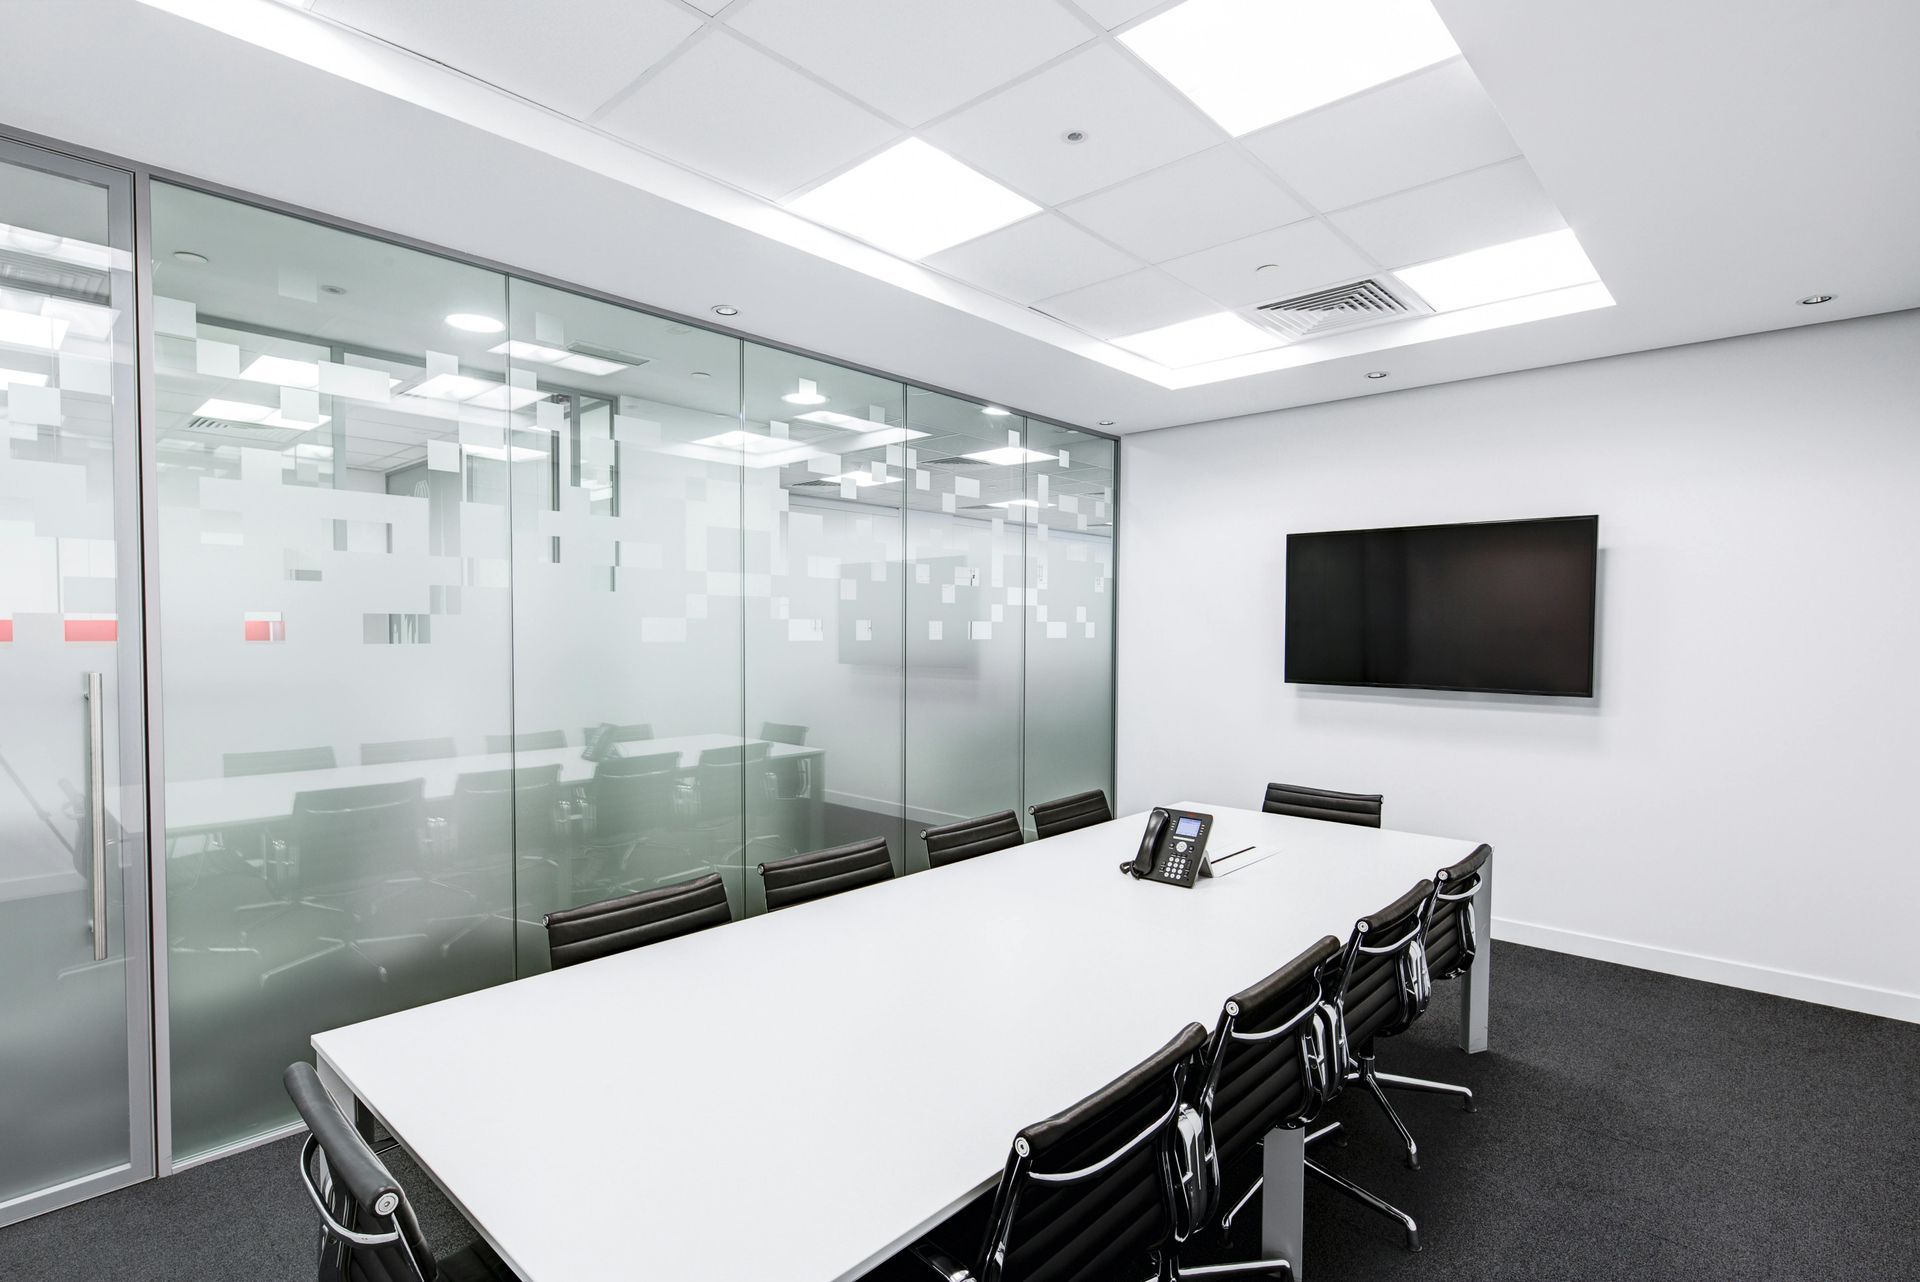
Discover how property managers can refresh occupied office spaces without interrupting daily operations or tenant productivity.
Planning an exterior paint project this spring? Learn why booking now for April–May exterior painting helps you beat the spring rush and get better results.
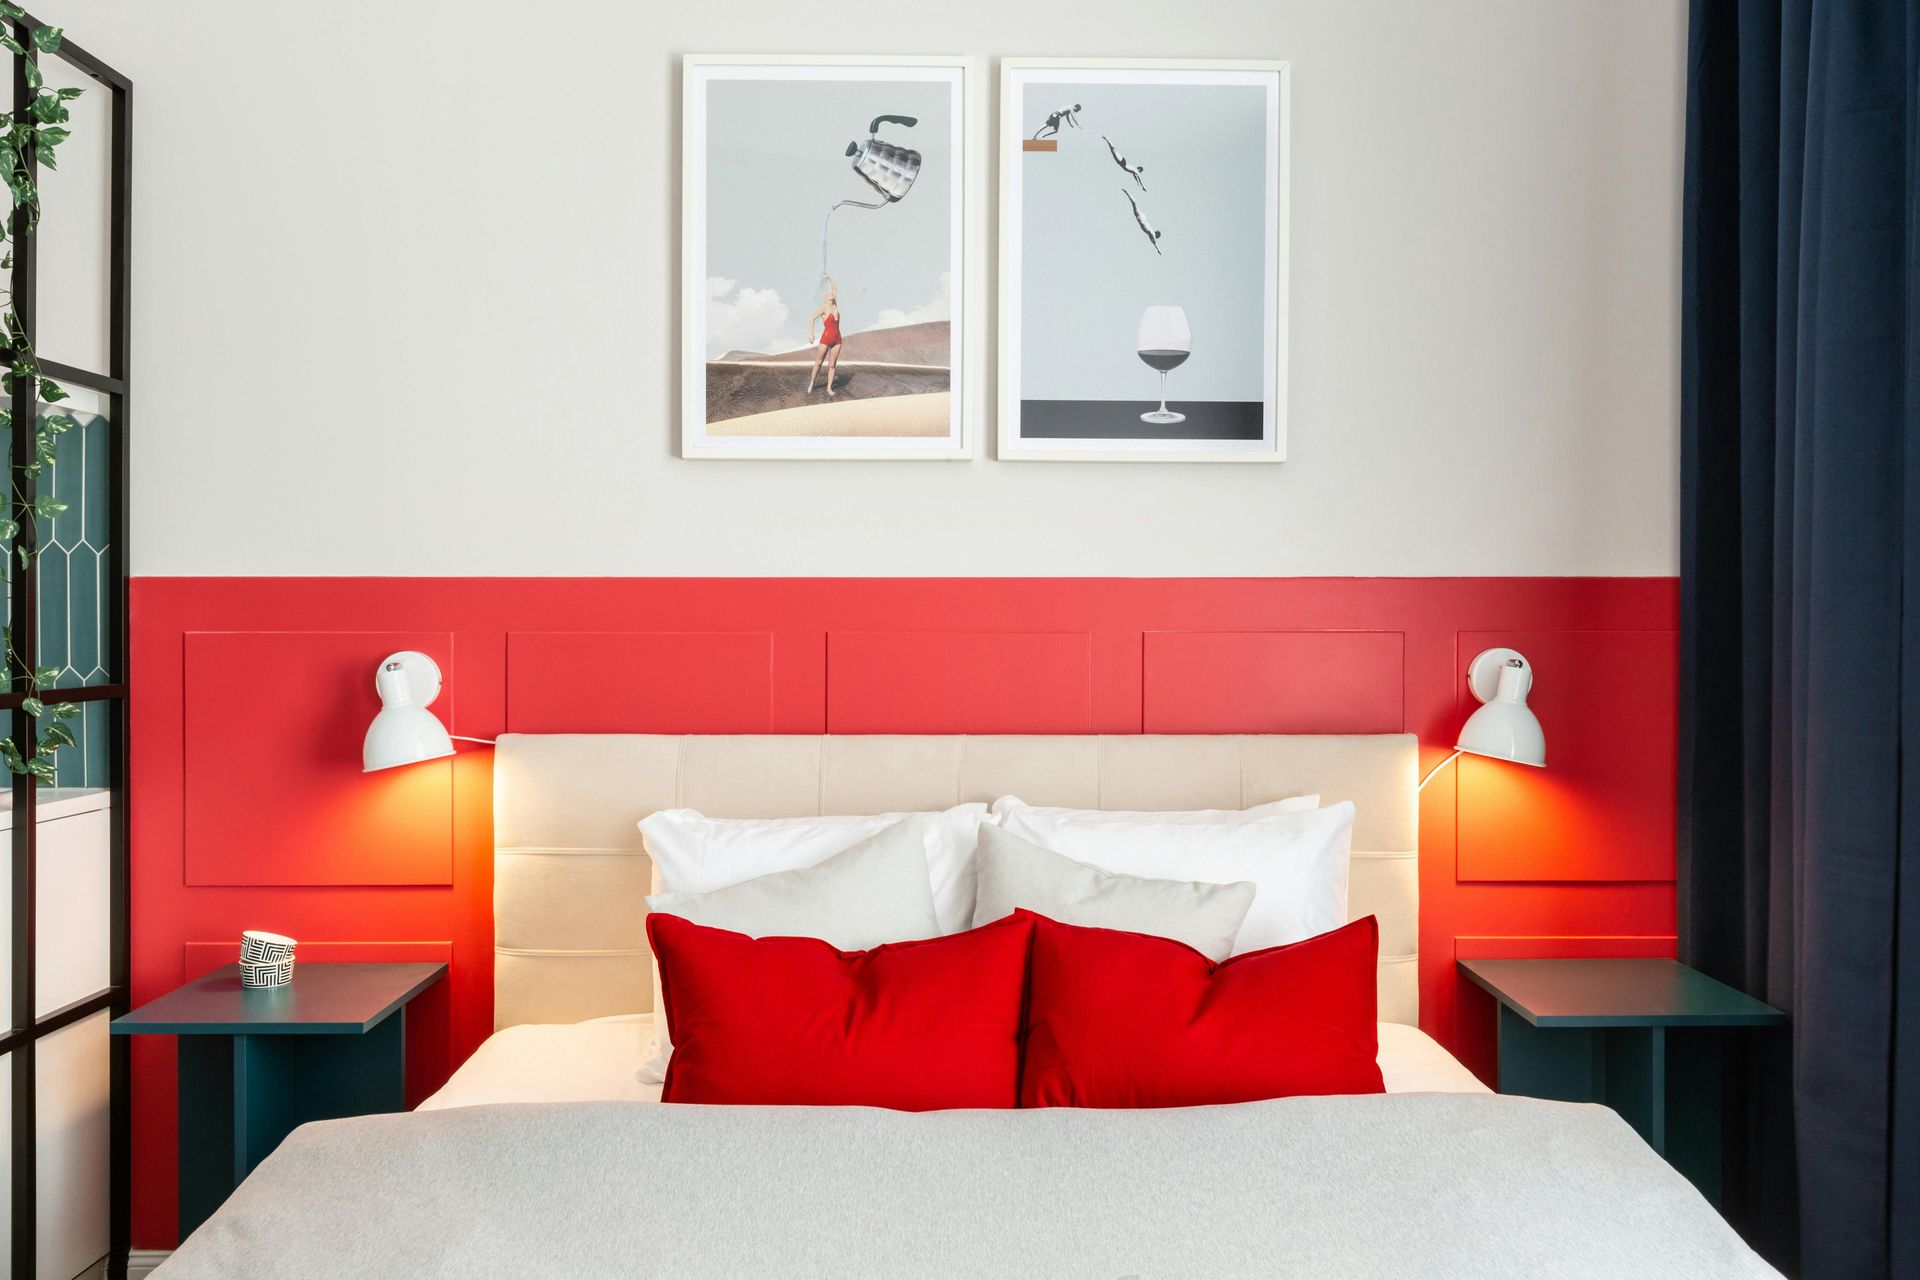
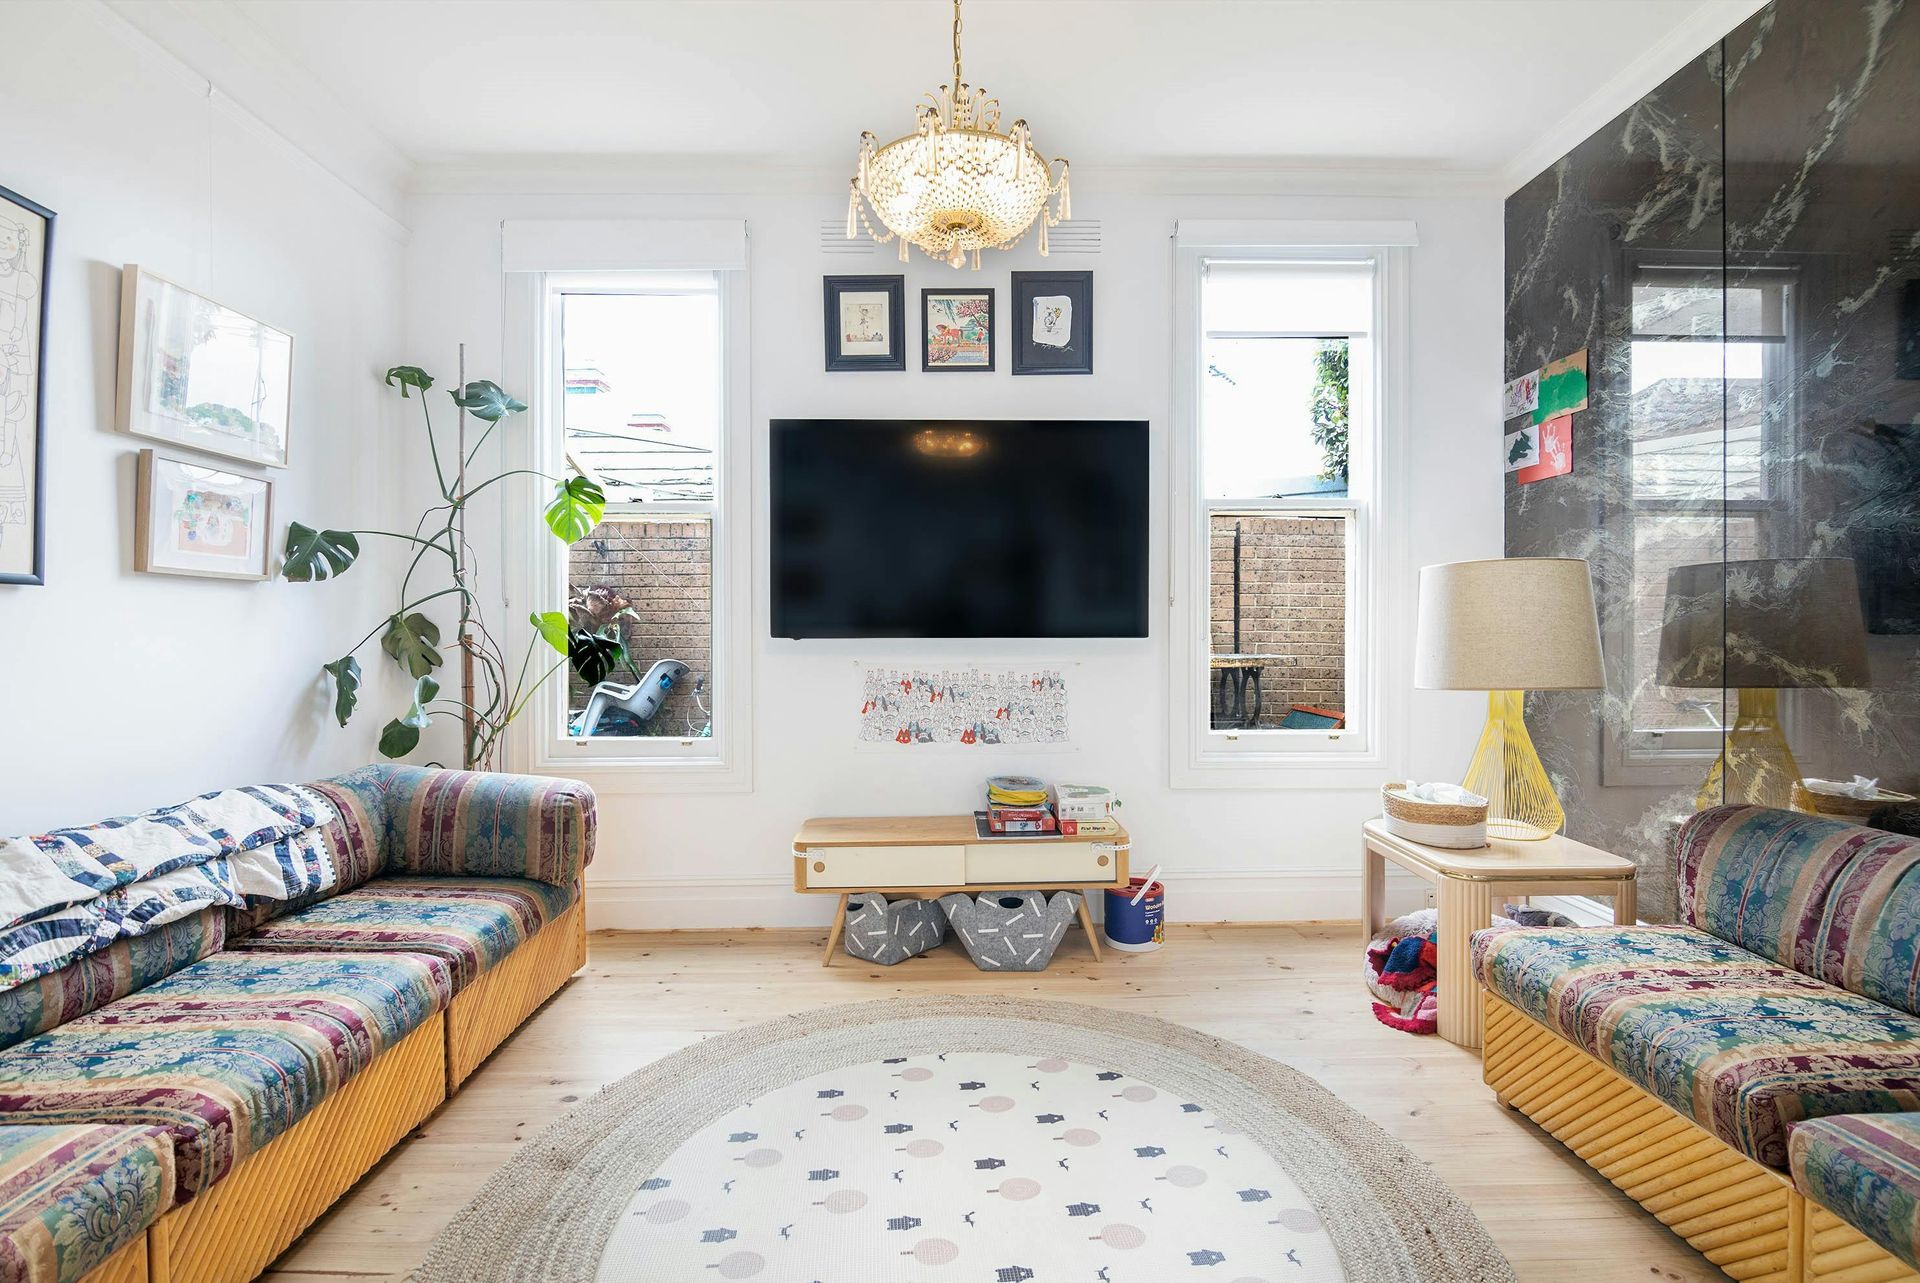
Looking for a Valentine’s Day home refresh that lasts? Discover five rooms that instantly feel better after a fresh coat of paint.
Discover why winter interior painting helps property managers save time, control budgets, and reduce tenant headaches before the busy spring season.
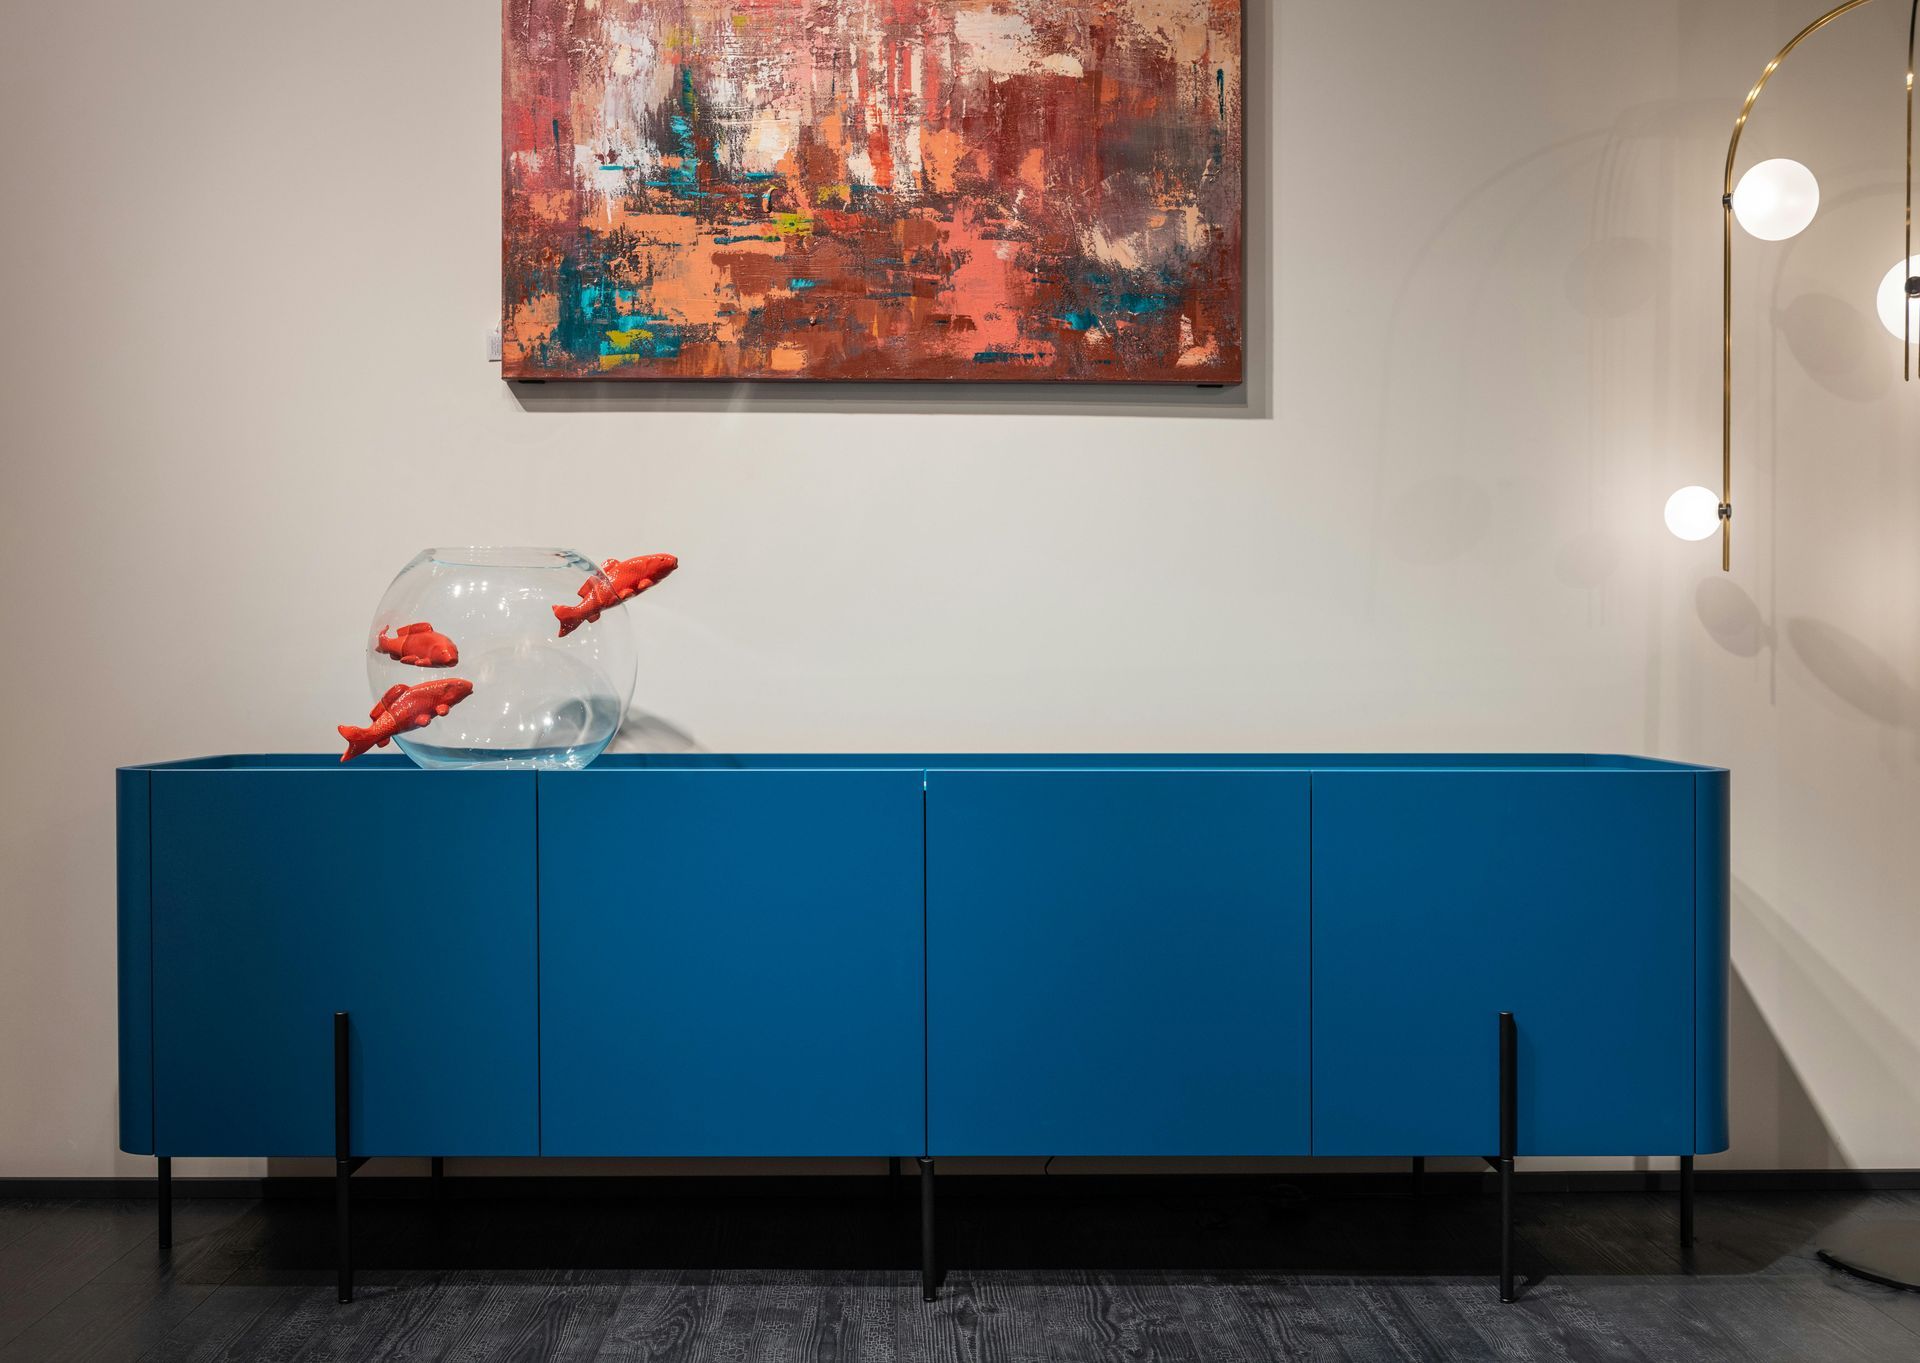
Ready to ditch builder beige? Discover 2026 cabinet color trends, from warm whites to bold blues and greens, plus tips to pick a timeless look.
Think January is a bad time to paint? Think again. Discover why winter is ideal for interior painting, better scheduling, and smoother results.
Planning interior painting now means better scheduling, less disruption, and a fresh start for your business in the new year.
Get an early look at 2026 paint color trends, from warm neutrals and rich earth tones to soft tech hues and dramatic statement colors.