Jondec Painting Blog
Search Blog Posts
Let's Talk Paint!
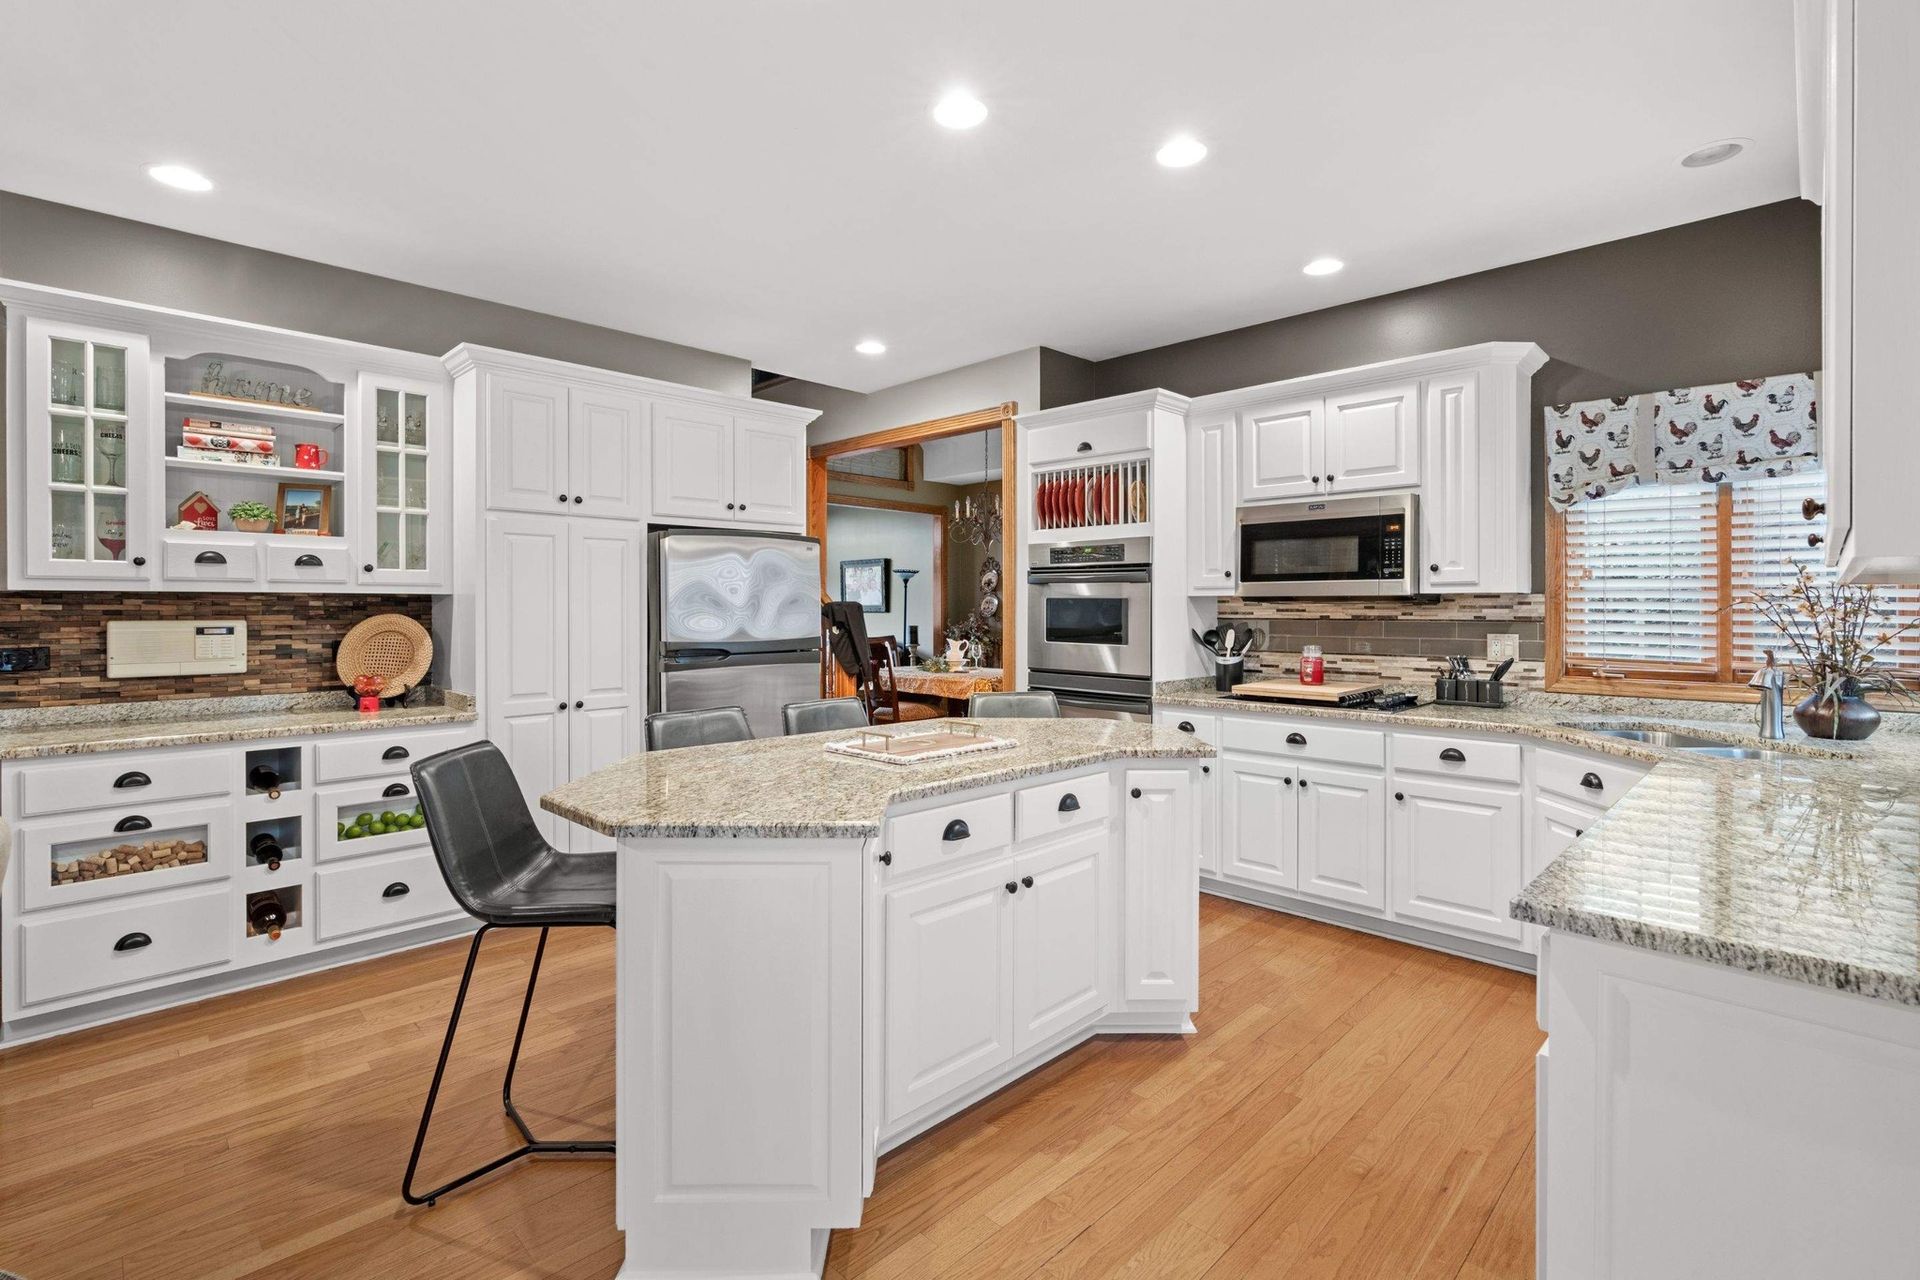
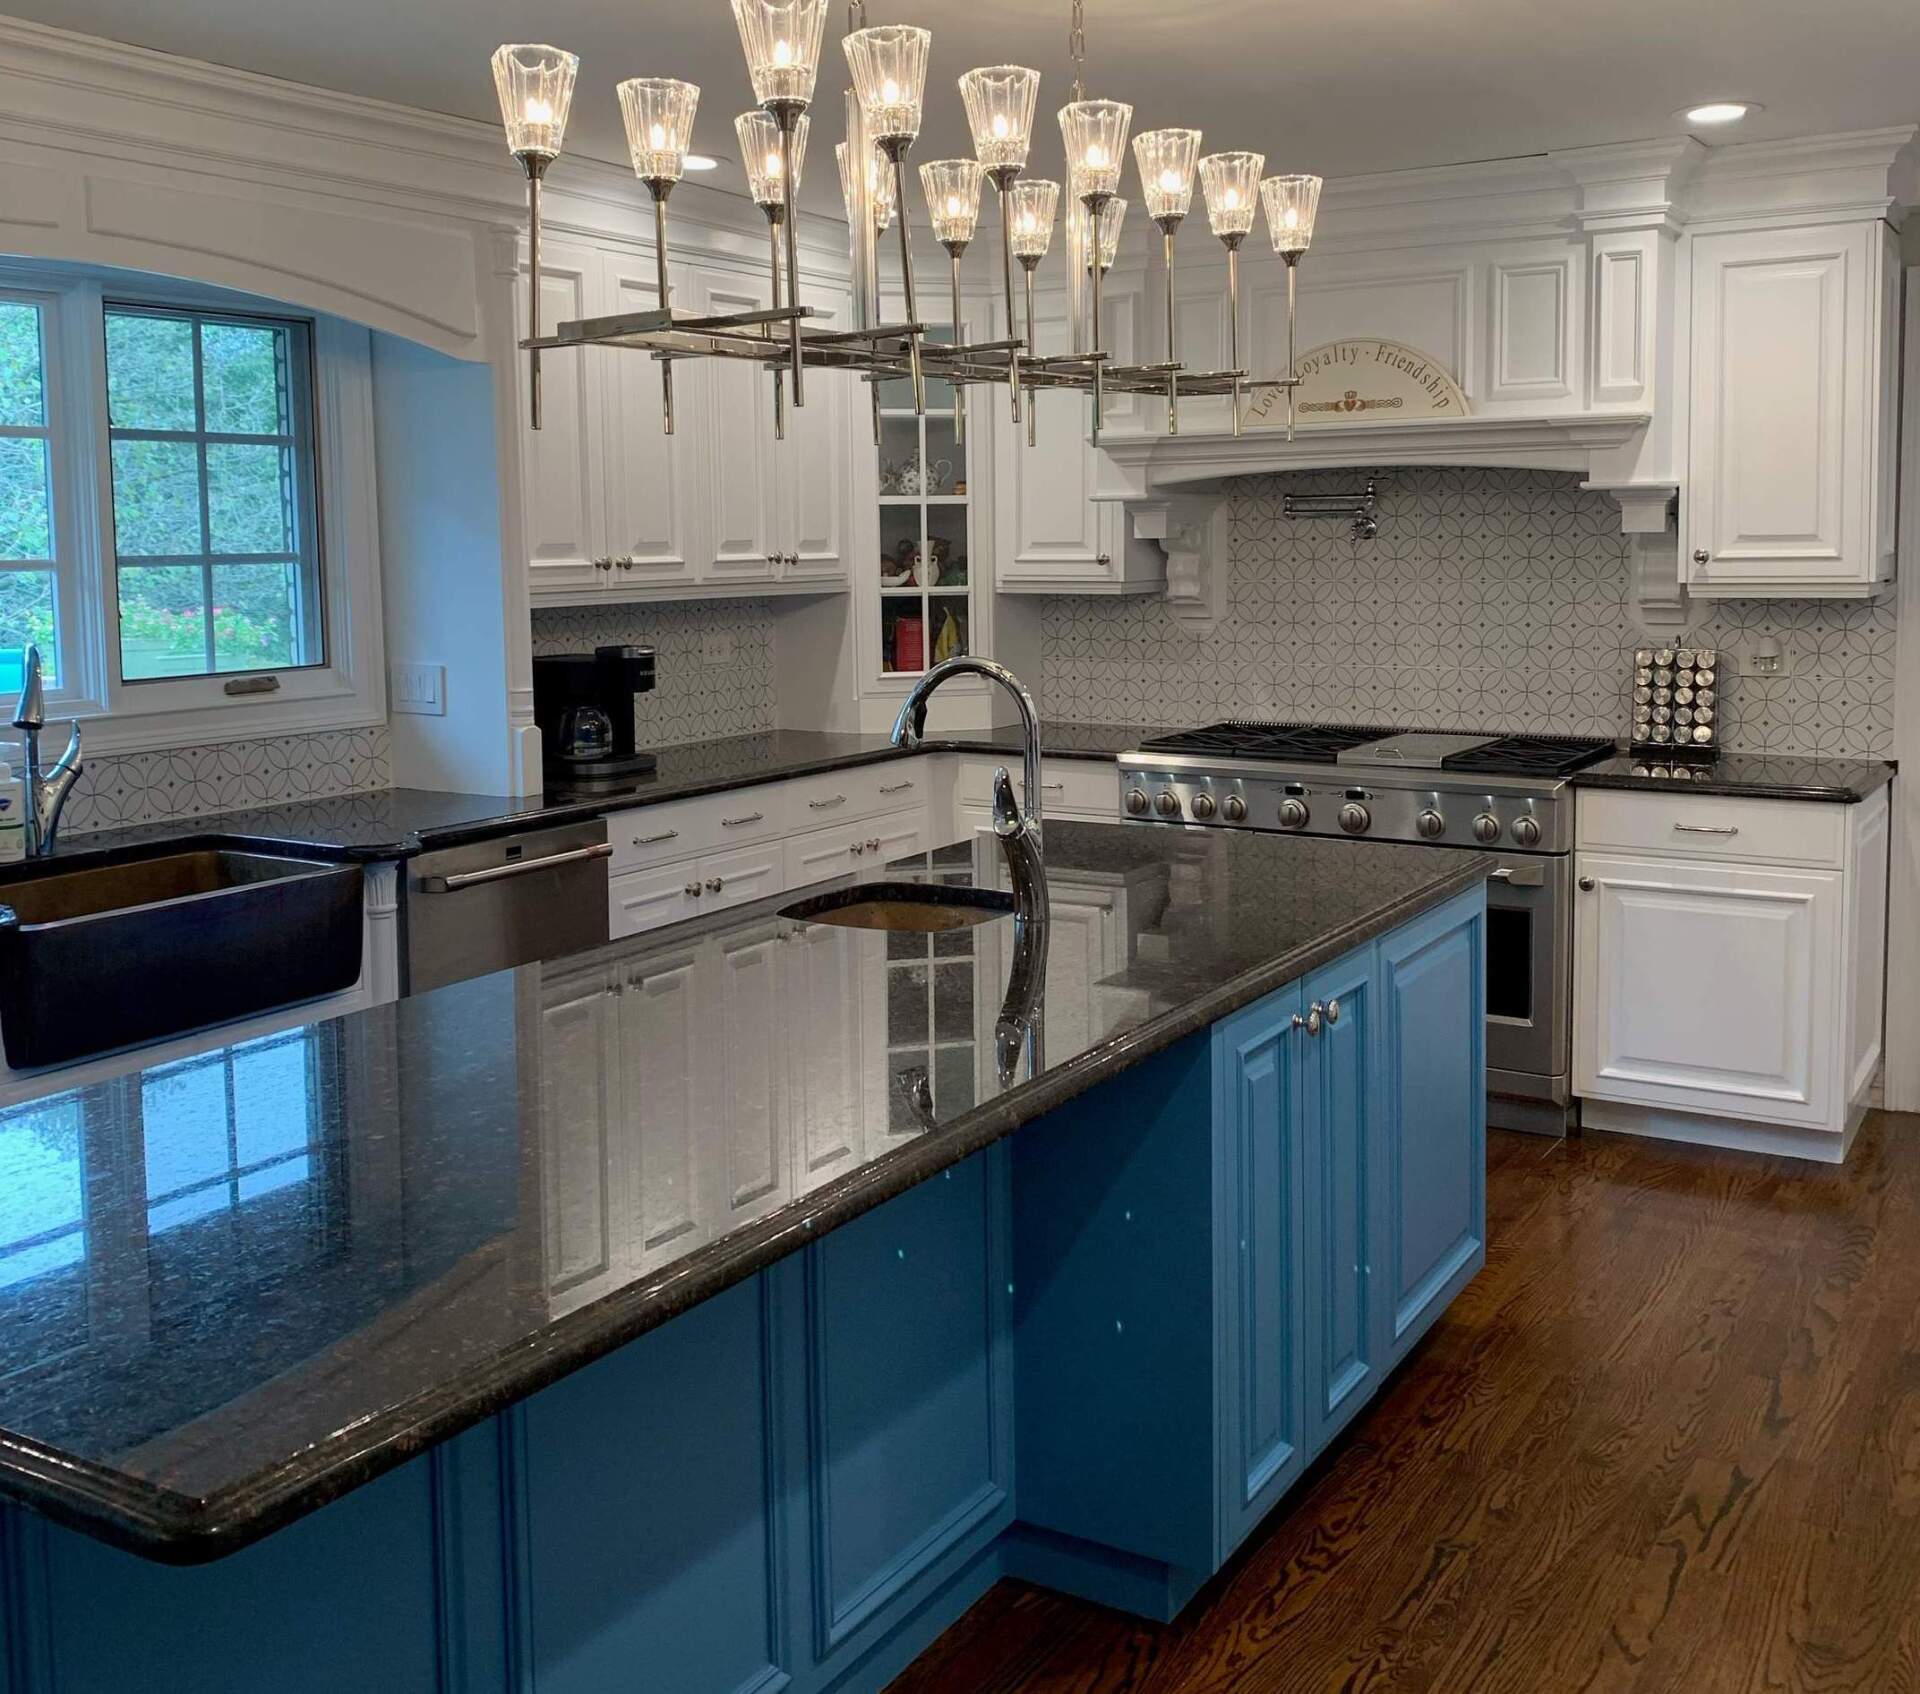
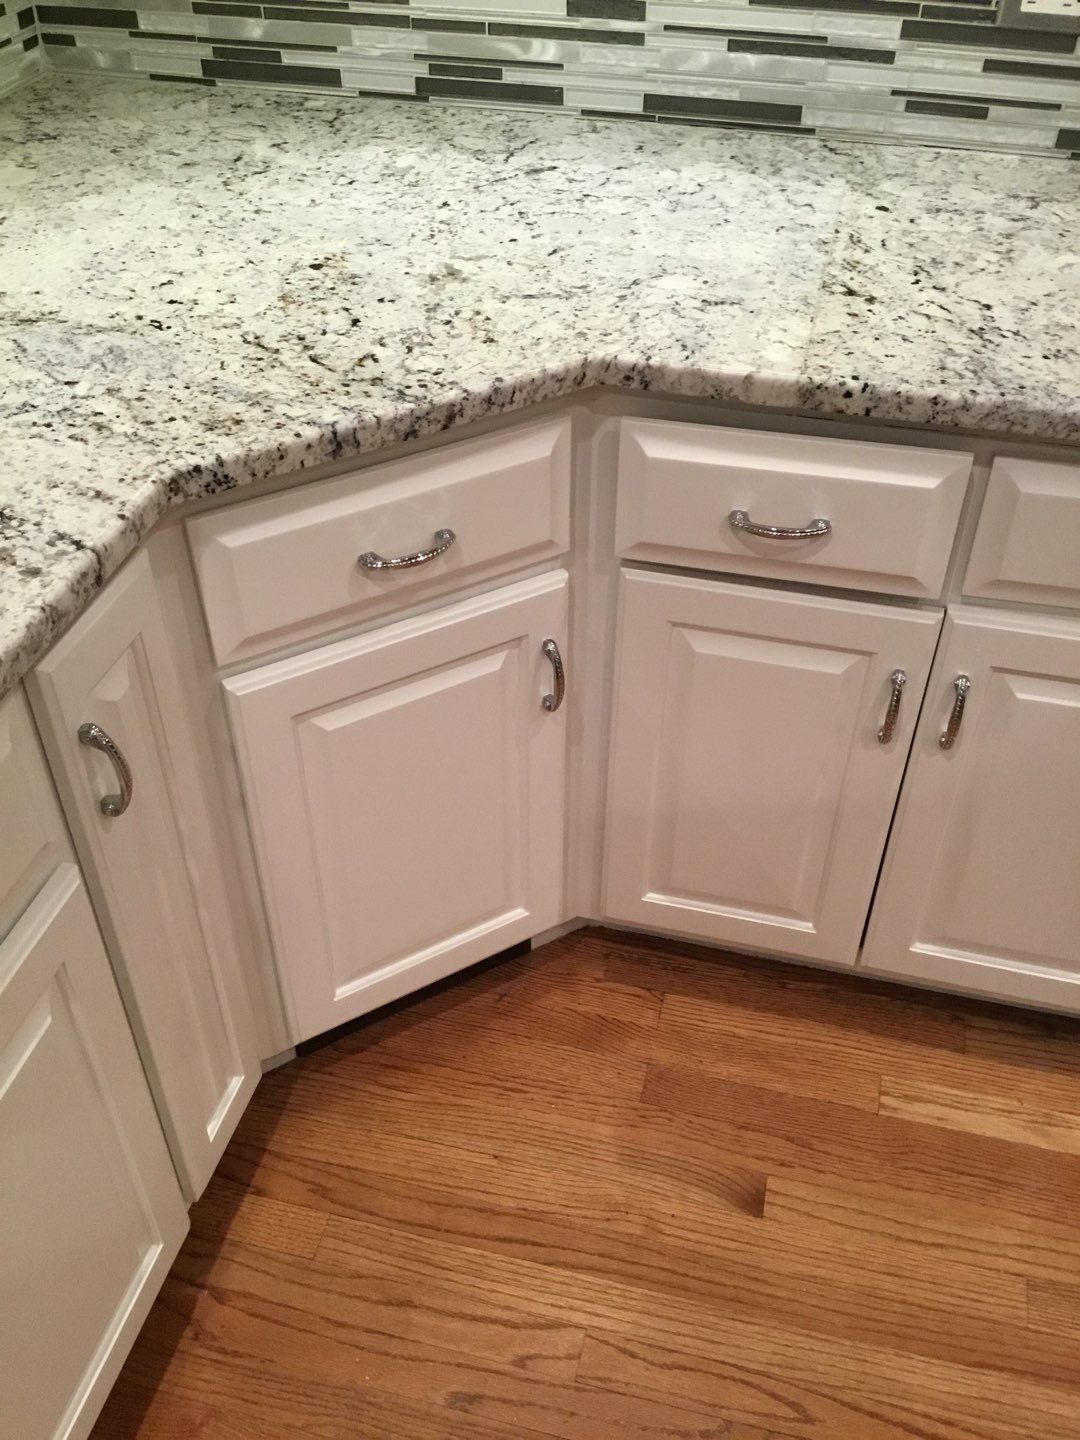
Your kitchen cabinets take up a huge amount of visual space. And you know what that means? It means a fresh coat of paint can do more than just make them look brand new. It can transform your kitchen’s style and save you thousands compared to a full remodel. But here’s the catch: painted cabinets can be stunning…or they can be a DIY disaster. Before you grab a paintbrush and start slapping on color, there are a few golden rules you’ll want to follow. Here’s our list of do’s and don’ts to keep your cabinets looking polished instead of patchy. The Cabinet Painting Do’s Do Clean Thoroughly: Grease, dust, and kitchen grime are sneaky. If you don’t clean your cabinets properly before painting, all that gunk will show through the new paint, or worse, prevent it from sticking. A little elbow grease goes a long way. Do Remove the Doors and Hardware: It’s tempting to cut corners, but trust us: painting around hinges and handles never looks neat. Take the doors off, label them, and store hardware in a baggie so you don’t end up with the world’s hardest jigsaw puzzle later. Do Sand (Yes, Really): Sanding is the unglamorous step nobody wants to do, but it’s the secret to a smooth, professional finish. Even if your cabinets don’t look glossy, a light sanding helps paint adhere and prevents chipping. Do Use the Right Paint: Cabinets need durable paint that can handle daily wear. Satin, semi-gloss, or specialty cabinet paints are designed for the job. Flat wall paint? Not invited to this party. Do Test a Sample First: Colors can look completely different under your kitchen lighting than they do on a tiny paint chip at the store. Paint a test section before committing to “soft sage” that mysteriously turns into “swamp green” under your pendant lights.
Get Started!
The first step in transforming your house with paint begins here. We make the scheduling, estimating & total job process a smooth as our finishes. Schedule an estimate today!

