When 80s Oak Meets Modern Design: Project Spotlight!
We all know the feeling of living with outdated cabinetry and an interior landscape that hasn't budged since the 80s. But when the time comes for a change, you know. One of our recent clients in Orland Park was in the same boat: they were ready for a fresh coat of paint, but there was one thing they just couldn’t ignore anymore…
The oak.
The golden, 1980s-style, honey-hued oak. It was everywhere: doors, trim, casings. And while it may have been the look back in the day, times (and tastes) have changed.
Here’s how we helped them transform their space with a little vision, a lot of elbow grease, and a finish that looks like it came straight out of a design magazine.
What Was the Project?
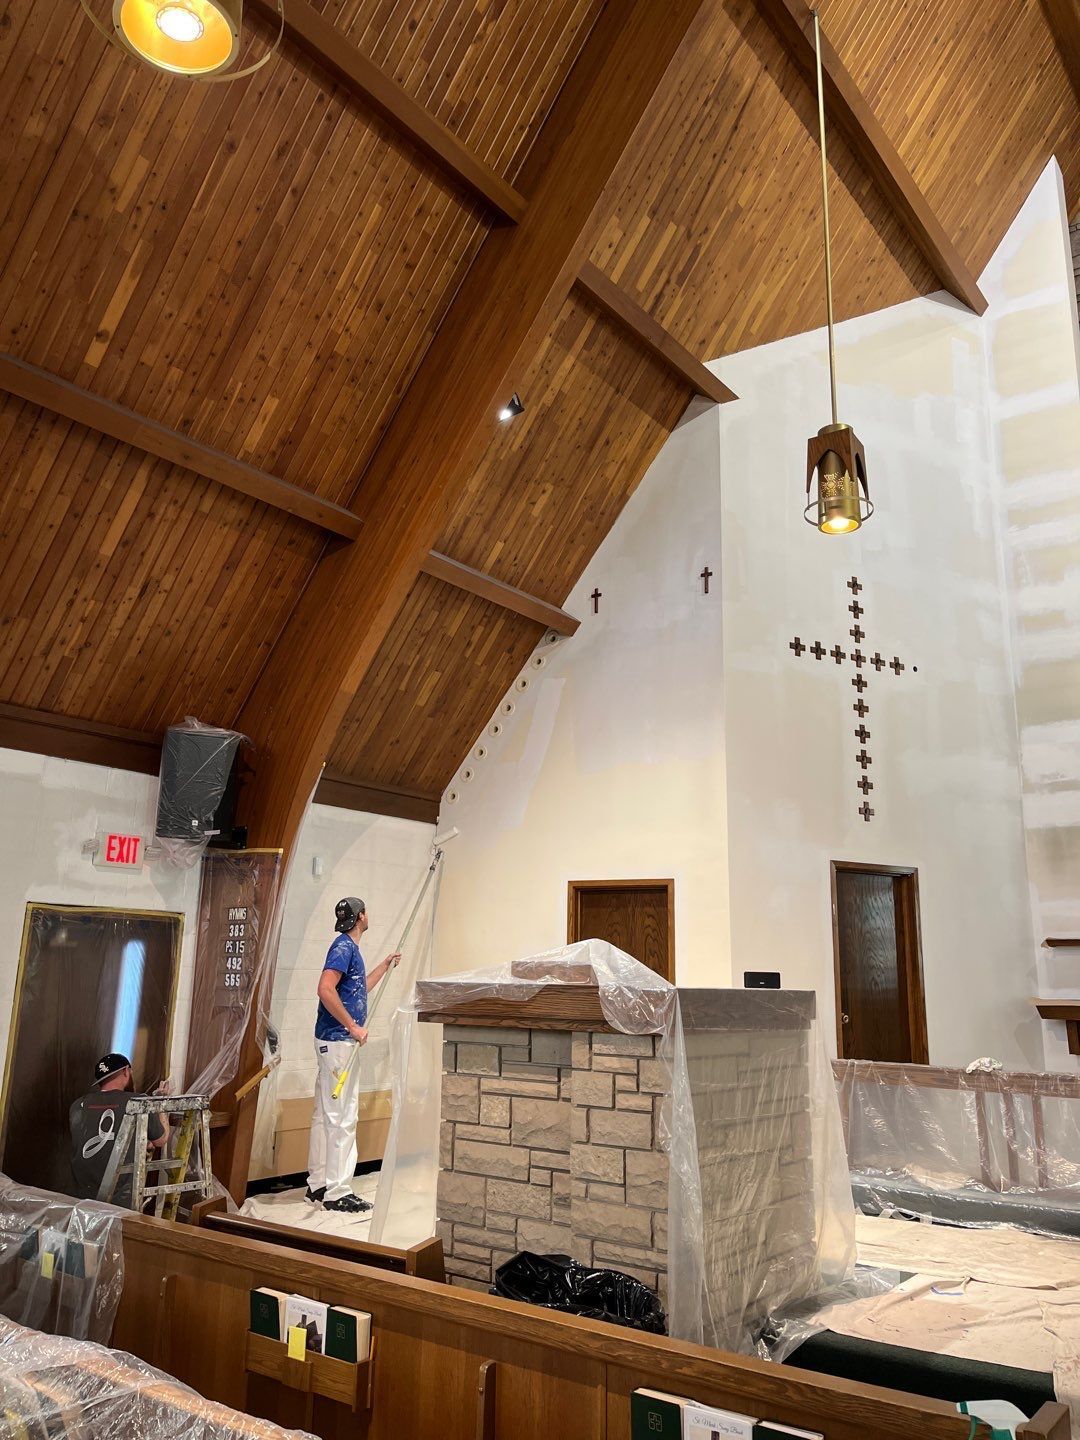
This was more than your standard paint job.
Our client wanted to freshen up the walls, sure, but they also had a bigger goal: update their tired-looking oak doors and trim without ripping everything out and starting from scratch.
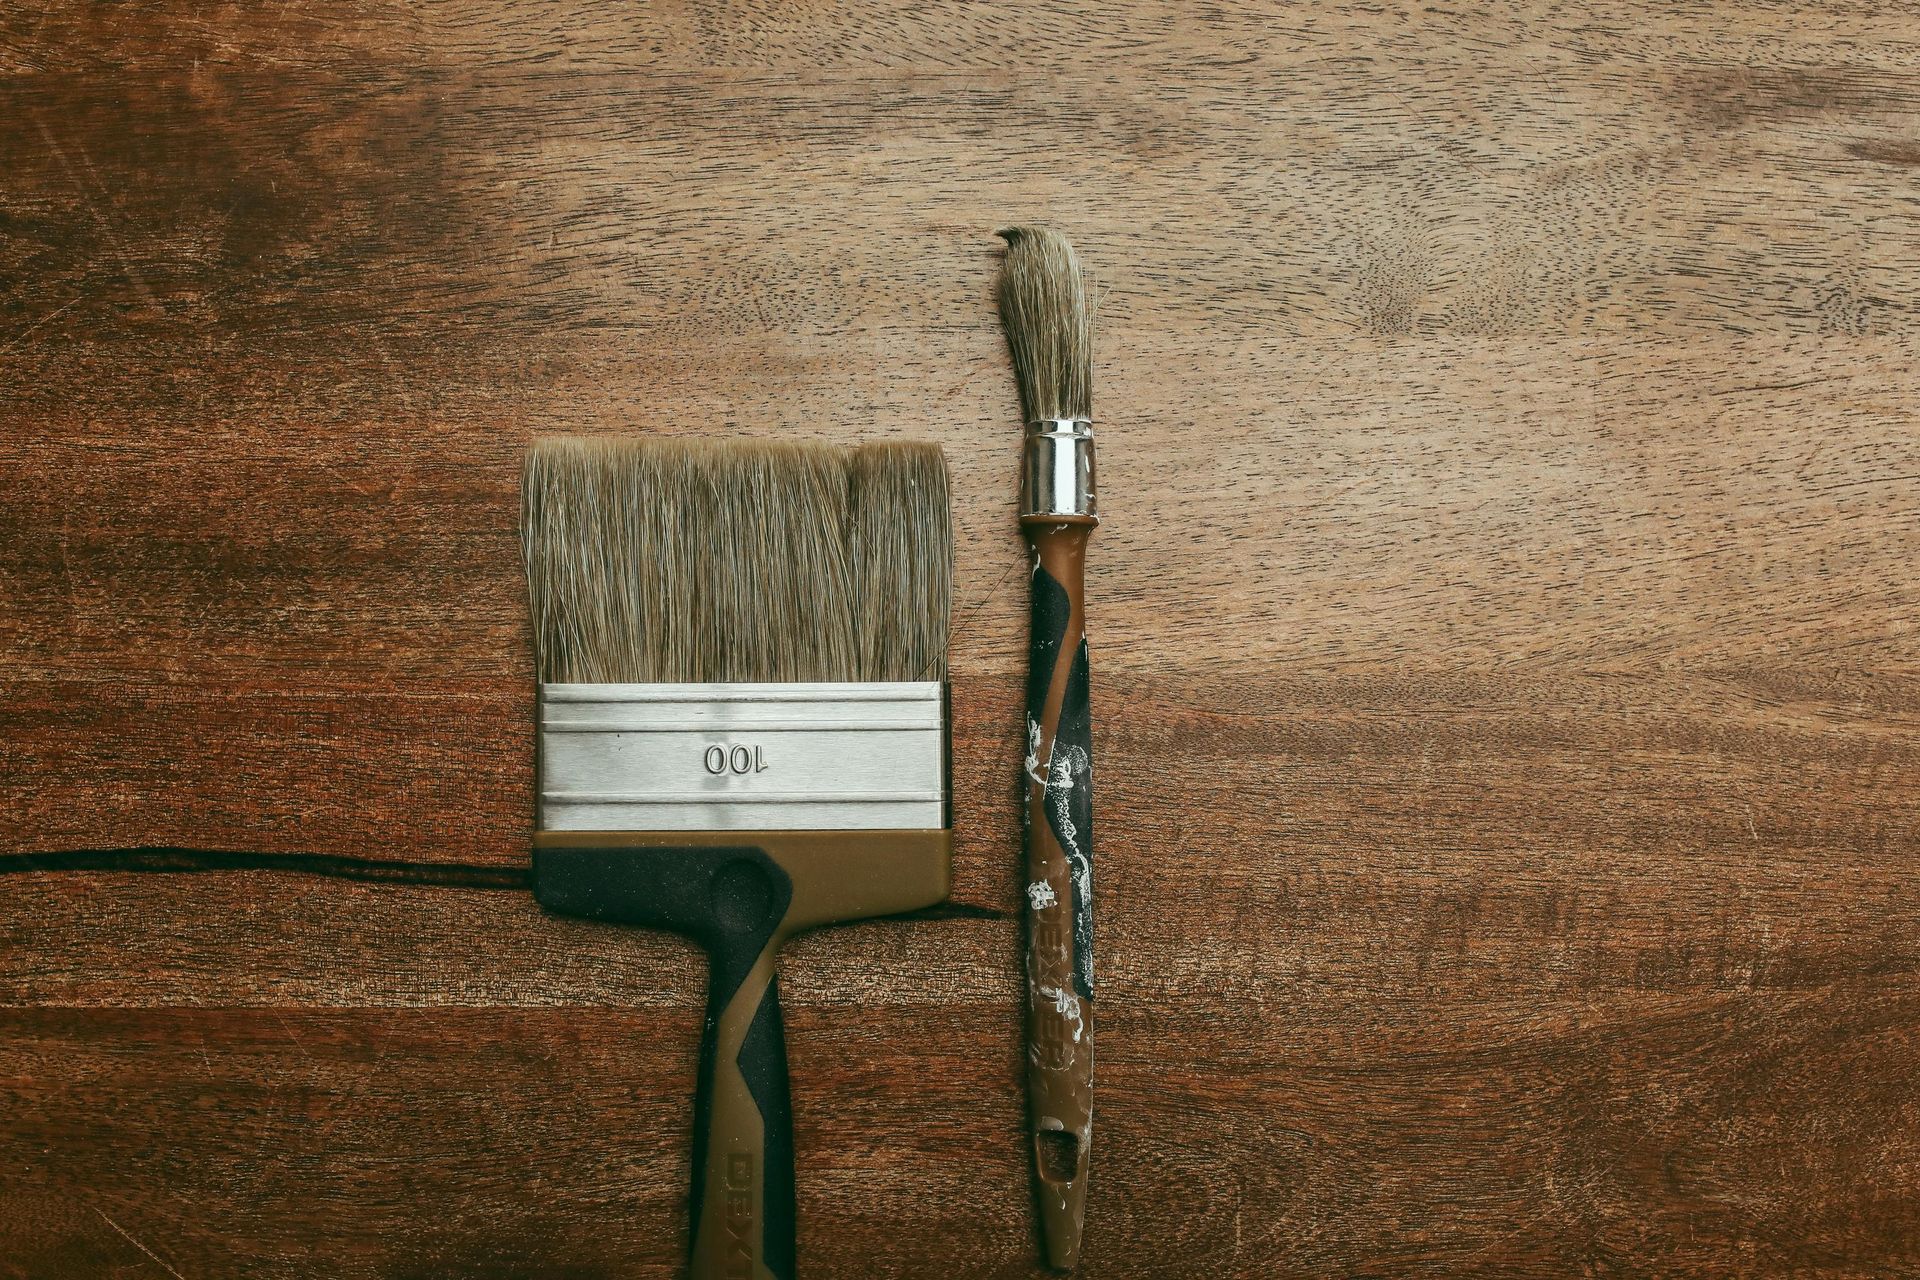
Replacing all that millwork would’ve been costly, messy, and unnecessary. The bones were good; the look just needed an upgrade. So we brought in one of our secret weapons: gel stain. Never heard of it? This stuff is quickly becoming a go-to solution for outdated wood finishes; and for good reason.
Here's a quick job walk with Chris, explaining the process and results:
Gel Stain: Easy to Love, Not Easy to Apply
If you’re not familiar with gel stain, here’s the quick version:
- Thicker, gel-like consistency – Unlike runny, watery stains, gel stain has the feel of pudding. That makes it easier to control and less likely to drip; ideal for vertical surfaces like doors or trim.
- Stays on the surface – Instead of soaking deeply into the wood grain, gel stain sits more on the surface. This makes it perfect for changing the color of wood that's already been finished (like old oak trim).
- Even coverage over tricky wood – Traditional stains can look blotchy on porous or highly grained wood like oak or pine. Gel stain delivers a more uniform look, especially when applied correctly.
- Works over existing finishes – One of its biggest perks is that it can be applied over existing polyurethane finishes (with proper prep), so you don’t have to strip or sand everything down to bare wood.
Sounds like a dream, right?
But here’s the catch: applying gel stain is absolutely not a beginner project. This isn’t something you want to experiment with on a random Saturday. One wrong move and you’ve got streaks, blotches, or, worse, an uneven finish that looks worse than when you started.
You have to:
- Prep surfaces meticulously (clean, scuff, clean again).
- Apply the stain evenly without overworking it.
- Know how
and when to seal it properly.
It's an easy solution… but not an easy process.
Let’s just say it’s kind of like making crème brûlée. Looks simple, but try it yourself and you end up with a kitchen fire and a dessert that tastes like regret. But let's get back to the project.
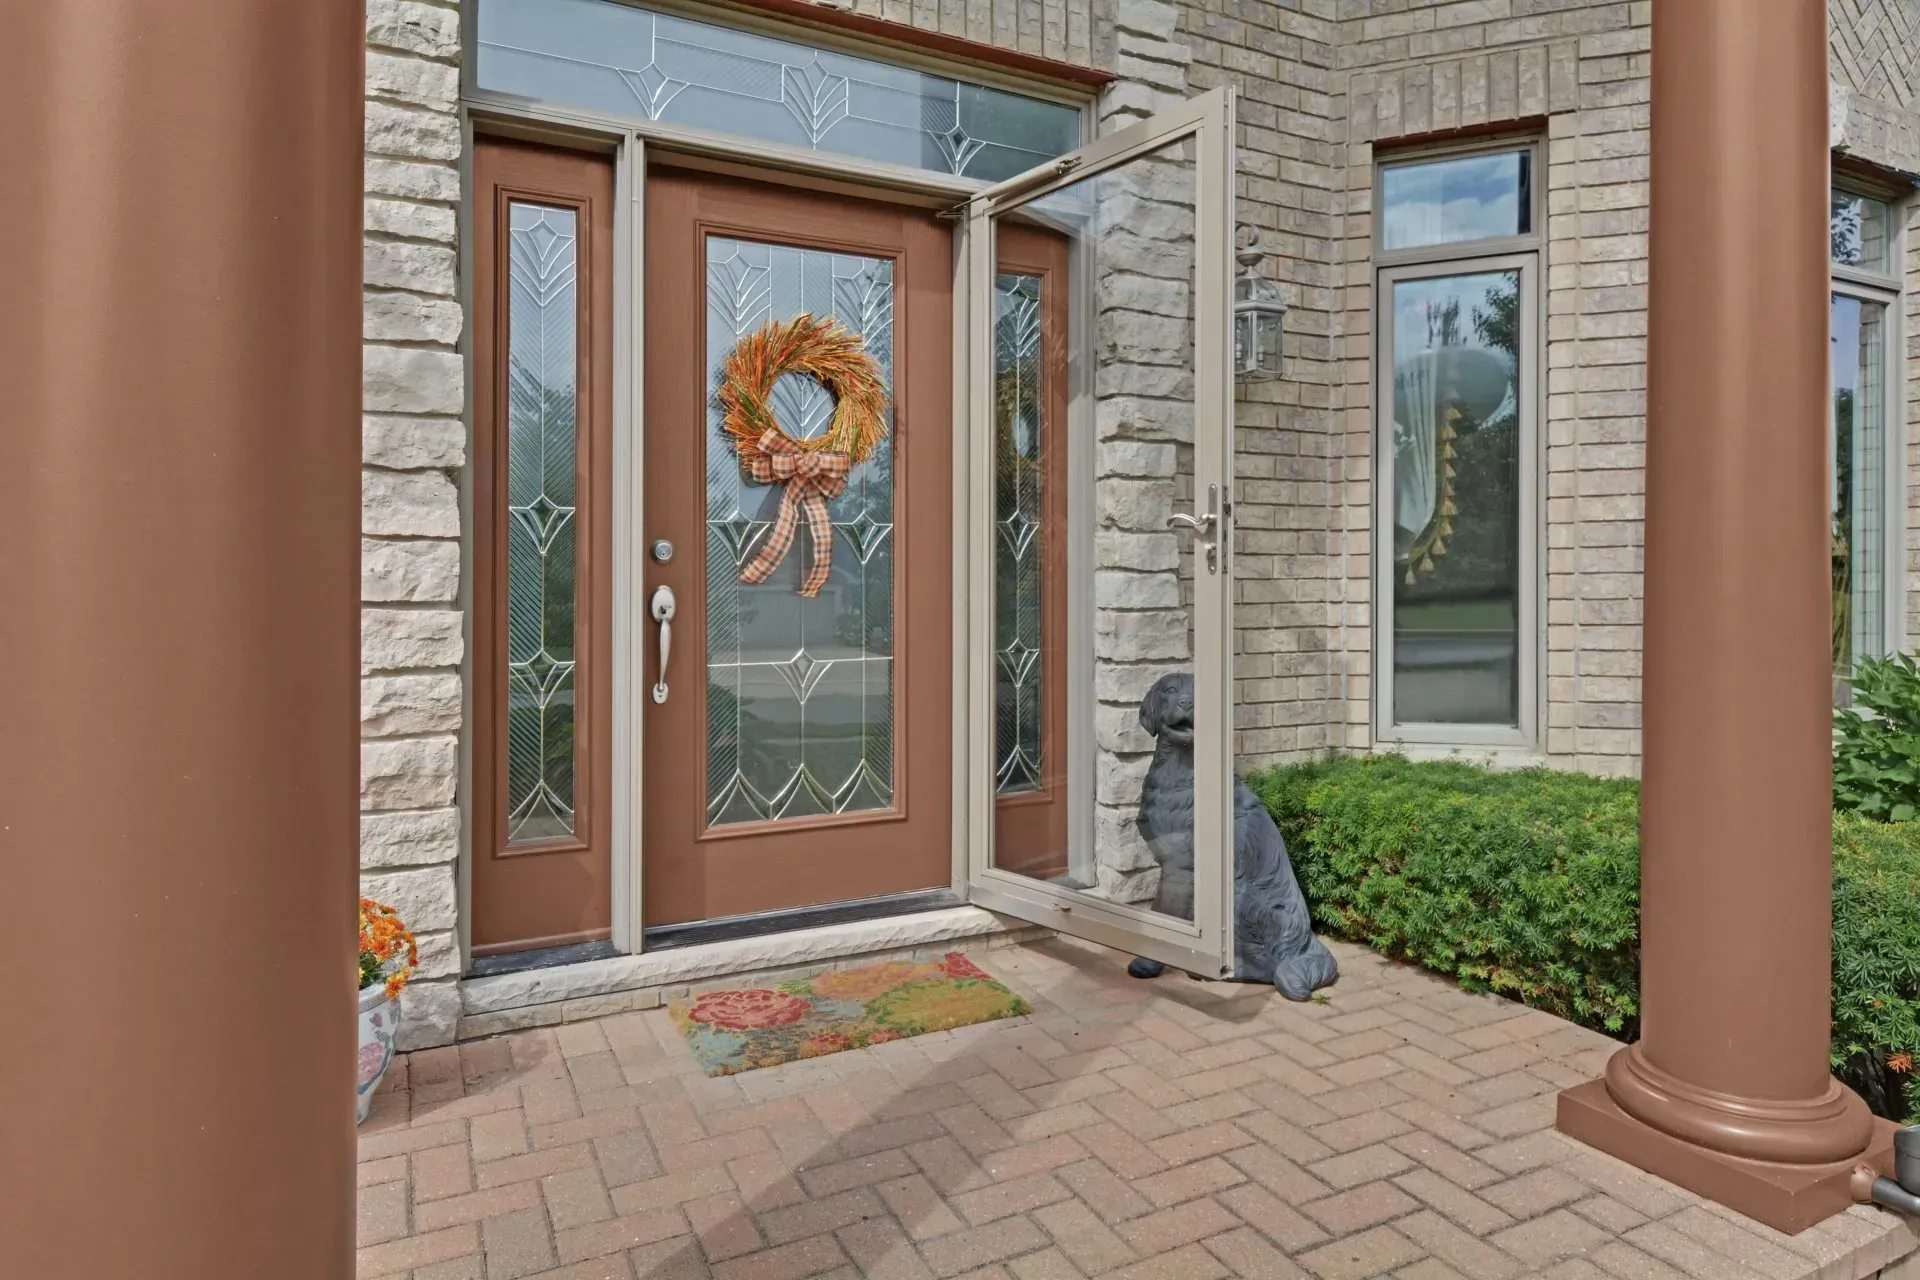
The Final Look: Clean, Rich, and Modern
Once we finished the stain work on the trim and doors, we moved on to the interior painting. The homeowner chose a fresh, updated wall color that gave the space a more modern and inviting feel.
With the new paint in place, the entire room finally felt pulled together. The rich, dark stain on the trim added warmth and contrast, giving the home a sense of character and style without feeling overdone. What was once dated oak now looked intentionally classic and finally friends with the 21st century. Instead of standing out in a bad way, the woodwork became a highlight of the design.
The end result? Night and day.
Why This Project Matters (and What You Can Learn)
If your home was built or renovated in the 80s or 90s, chances are you’ve got some golden oak hanging around. Maybe it’s on your cabinets. Maybe it’s your doors or stair railings. Either way, you’ve probably looked at it and wondered if there’s anything you can do short of replacing everything.
There is. But you’ve got to do it right.
Finishes like gel stain require a level of care, precision, and product knowledge that you don’t get from watching a 4-minute YouTube tutorial. That’s where pros (like us) come in. We’ve got the tools, the experience, and, let’s be honest, the patience to make it look perfect. Because anything less than perfect with a product like this? It’s gonna show.
Thinking About Your Own Project?
Whether you’re dreaming of a pre-holiday repaint, looking to modernize your trim, or wondering if your old cabinets could be saved with a stain makeover, now’s the time to plan.
Fall is a smart season to beat the winter rush, and we’ve got openings to help you check that project off your list before family comes over and starts making “helpful” suggestions about your oak trim.
Want to talk through your options? We’re happy to help. Send us a few photos and let’s get the conversation started.
No Mess. No Stress.
At Jondec Painting, our whole mission is to take the hassle out of home updates. That means no flaky contractors, no half-done jobs, and no surprise messes left behind.
Just a clean, efficient process that brings your home up to date…without the drama.
Whether you need help saying goodbye to your honey oak, or just want to breathe new life into your living space, we’re ready when you are.
Share
Let's Talk Paint!