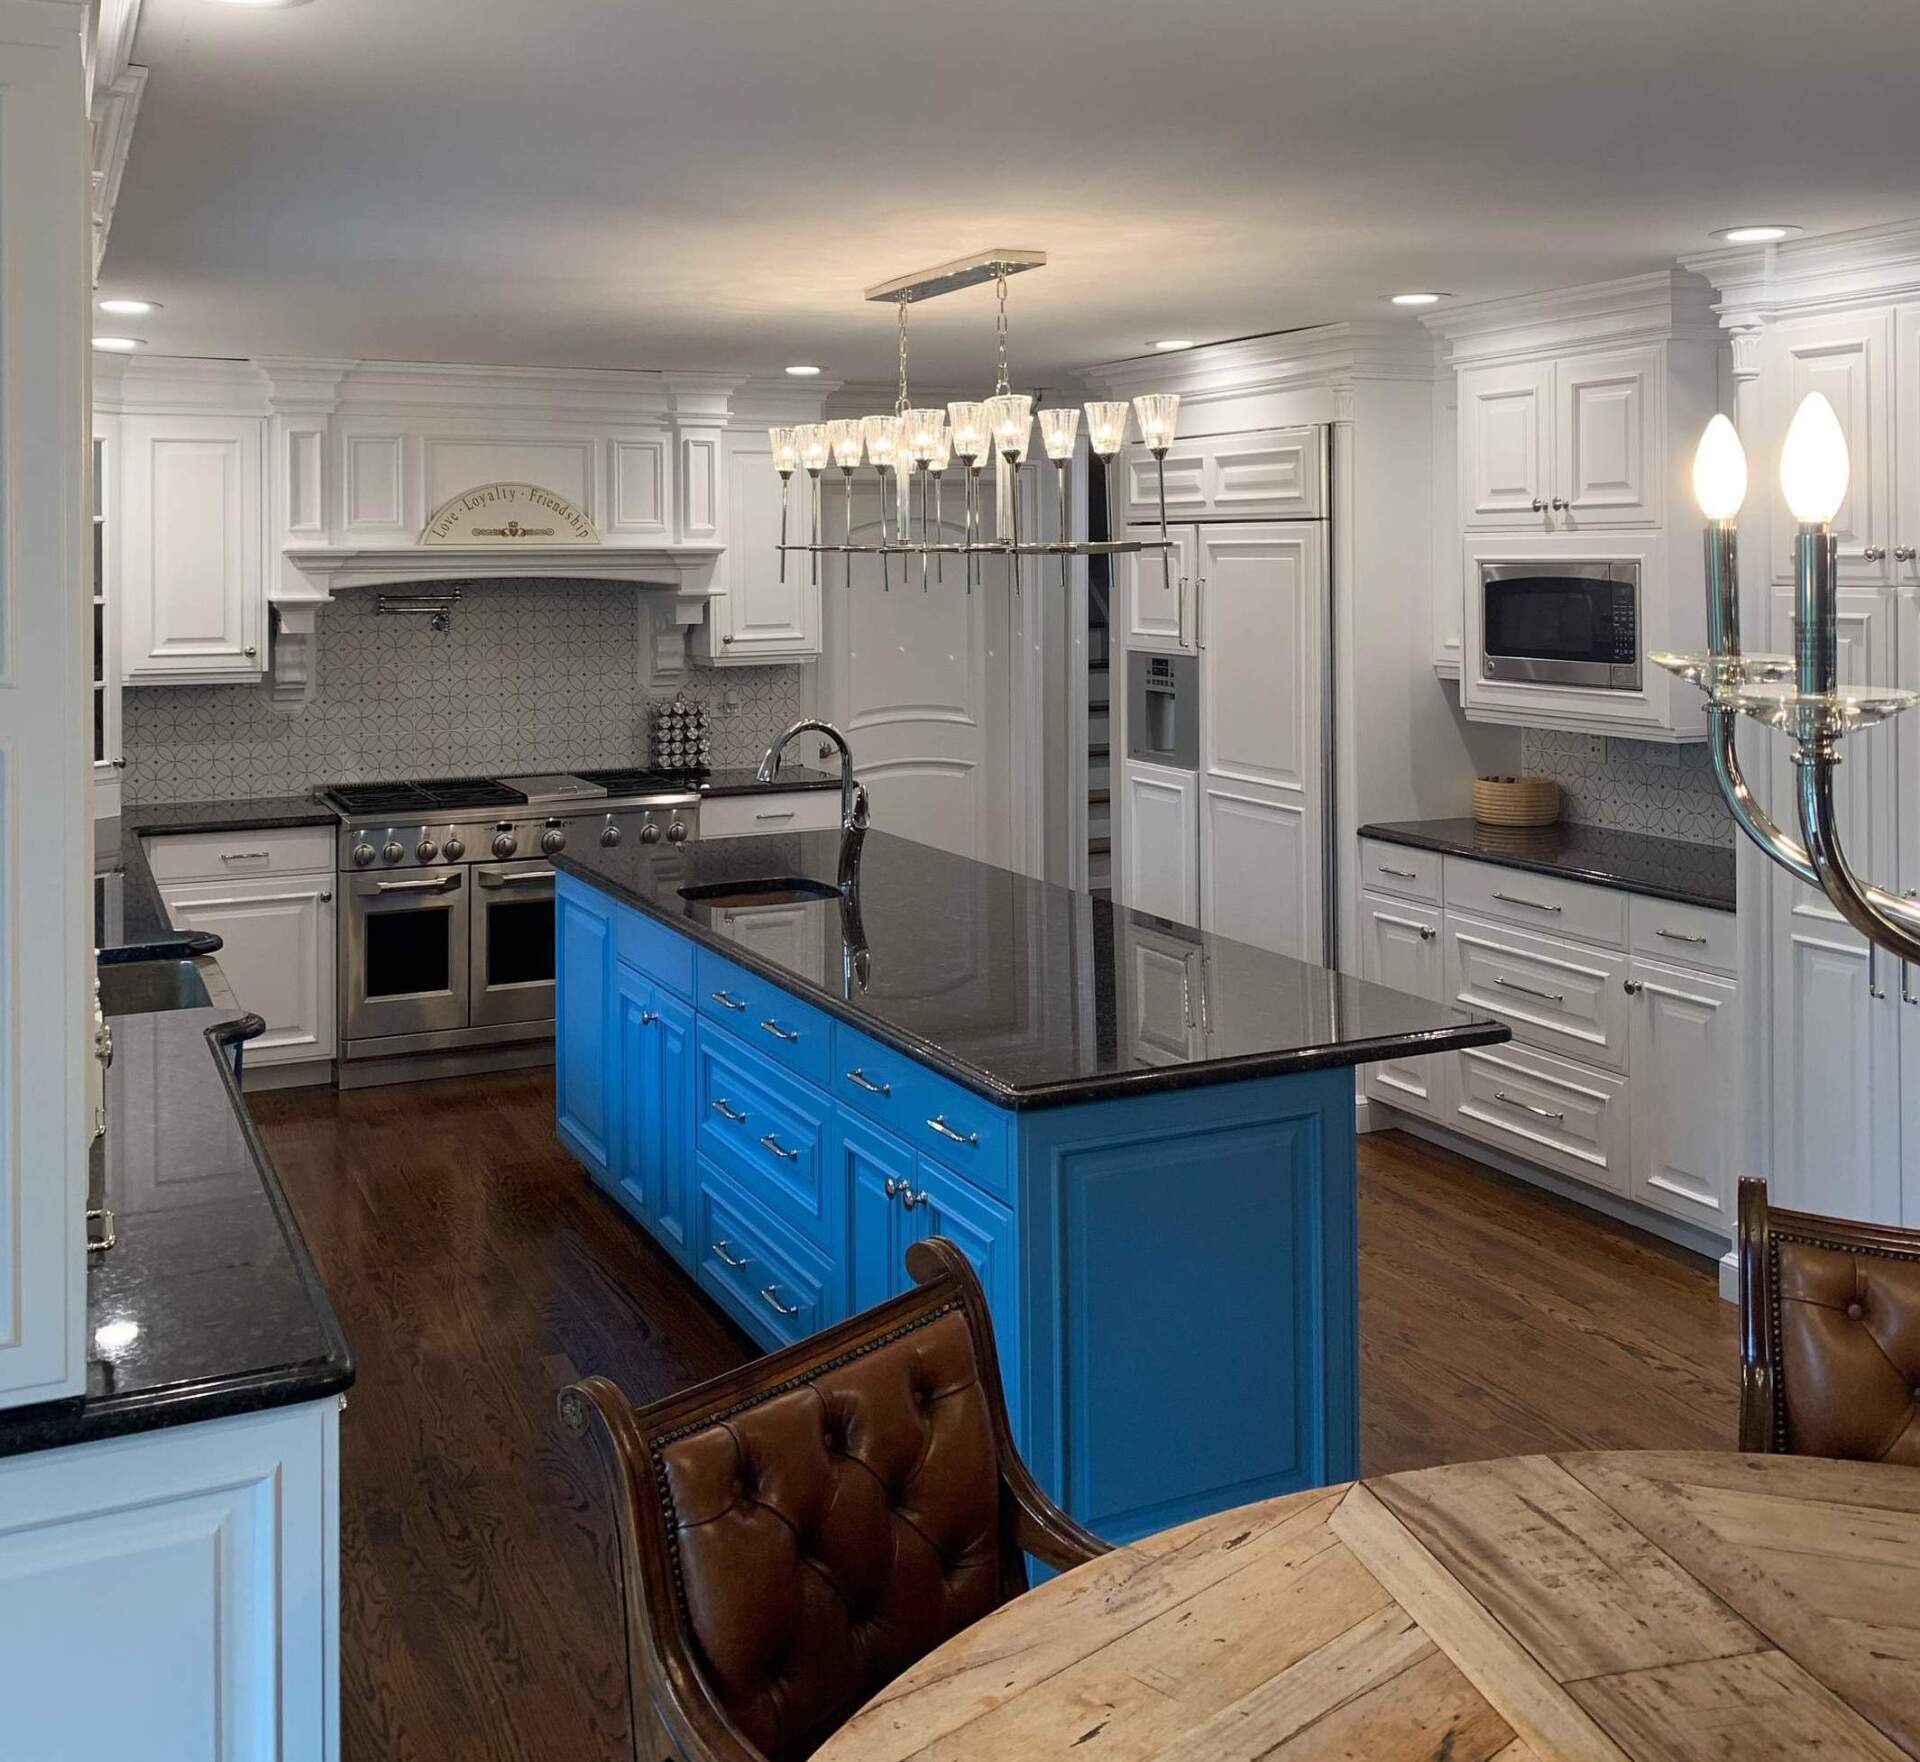
Do’s and Don’ts of Painted Kitchen Cabinets: Tips from the Pros
Your kitchen cabinets take up a huge amount of visual space. And you know what that means? It means a fresh coat of paint can do more than just make them look brand new. It can transform your kitchen’s style and save you thousands compared to a full remodel. But here’s the catch: painted cabinets can be stunning…or they can be a DIY disaster.
Before you grab a paintbrush and start slapping on color, there are a few golden rules you’ll want to follow. Here’s our list of do’s and don’ts to keep your cabinets looking polished instead of patchy.
The Cabinet Painting Do’s
Do Clean Thoroughly:
Grease, dust, and kitchen grime are sneaky. If you don’t clean your cabinets properly before painting, all that gunk will show through the new paint, or worse, prevent it from sticking. A little elbow grease goes a long way.
Do Remove the Doors and Hardware:
It’s tempting to cut corners, but trust us: painting around hinges and handles never looks neat. Take the doors off, label them, and store hardware in a baggie so you don’t end up with the world’s hardest jigsaw puzzle later.
Do Sand (Yes, Really):
Sanding is the unglamorous step nobody wants to do, but it’s the secret to a smooth, professional finish. Even if your cabinets don’t look glossy, a light sanding helps paint adhere and prevents chipping.
Do Use the Right Paint:
Cabinets need durable paint that can handle daily wear. Satin, semi-gloss, or specialty cabinet paints are designed for the job. Flat wall paint? Not invited to this party.
Do Test a Sample First:
Colors can look completely different under your kitchen lighting than they do on a tiny paint chip at the store. Paint a test section before committing to “soft sage” that mysteriously turns into “swamp green” under your pendant lights.
The Don’ts of Cabinet Painting
Don’t Skip Primer:
Primer is the unsung hero of cabinet painting. It seals the surface, blocks stains, and gives your paint something solid to grip. Skip it, and you’re almost guaranteed peeling, blotches, and regret.
Don’t Rush the Drying Time:
We get it, you want your kitchen back. But stacking doors or reattaching hardware too soon is a recipe for smudges, tacky spots, and fingerprints that live forever in the paint. Follow the recommended drying time on the can, even if patience isn’t your thing.
Don’t Overload Your Brush or Roller:
Thick, gloopy layers of paint don’t speed up the job; they just leave you with drips, streaks, and regret. Thin, even coats are your best friend. Two or three light passes will always look better than one heavy coat.
Don’t Forget the Inside Edges:
Leaving edges or sides unpainted makes your cabinets look unfinished. Even if you decide not to paint the interiors, make sure the visible edges are covered for a seamless, intentional look.
Don’t Assume All Cabinets Can Be Painted:
Not every cabinet is a good candidate. If they’re warped, badly damaged, or coated in a laminate that won’t hold paint, you may need a different solution. Sometimes replacement, or a professional opinion, really is the better choice.
A Few Extra Professional Cabinet Painting Tips
Even if you follow the major do’s and don’ts, it’s the little details that often separate a professional-looking cabinet job from one that screams “weekend DIY project.” These small steps and habits make the process smoother and the end result far more polished.
- Label your cabinet doors as you remove them (masking tape works). Otherwise, you’ll spend an afternoon playing “which door goes where?”
- Use a sprayer if possible for a smoother, factory-like finish. Brushes and rollers can work, but they often leave a slight texture behind.
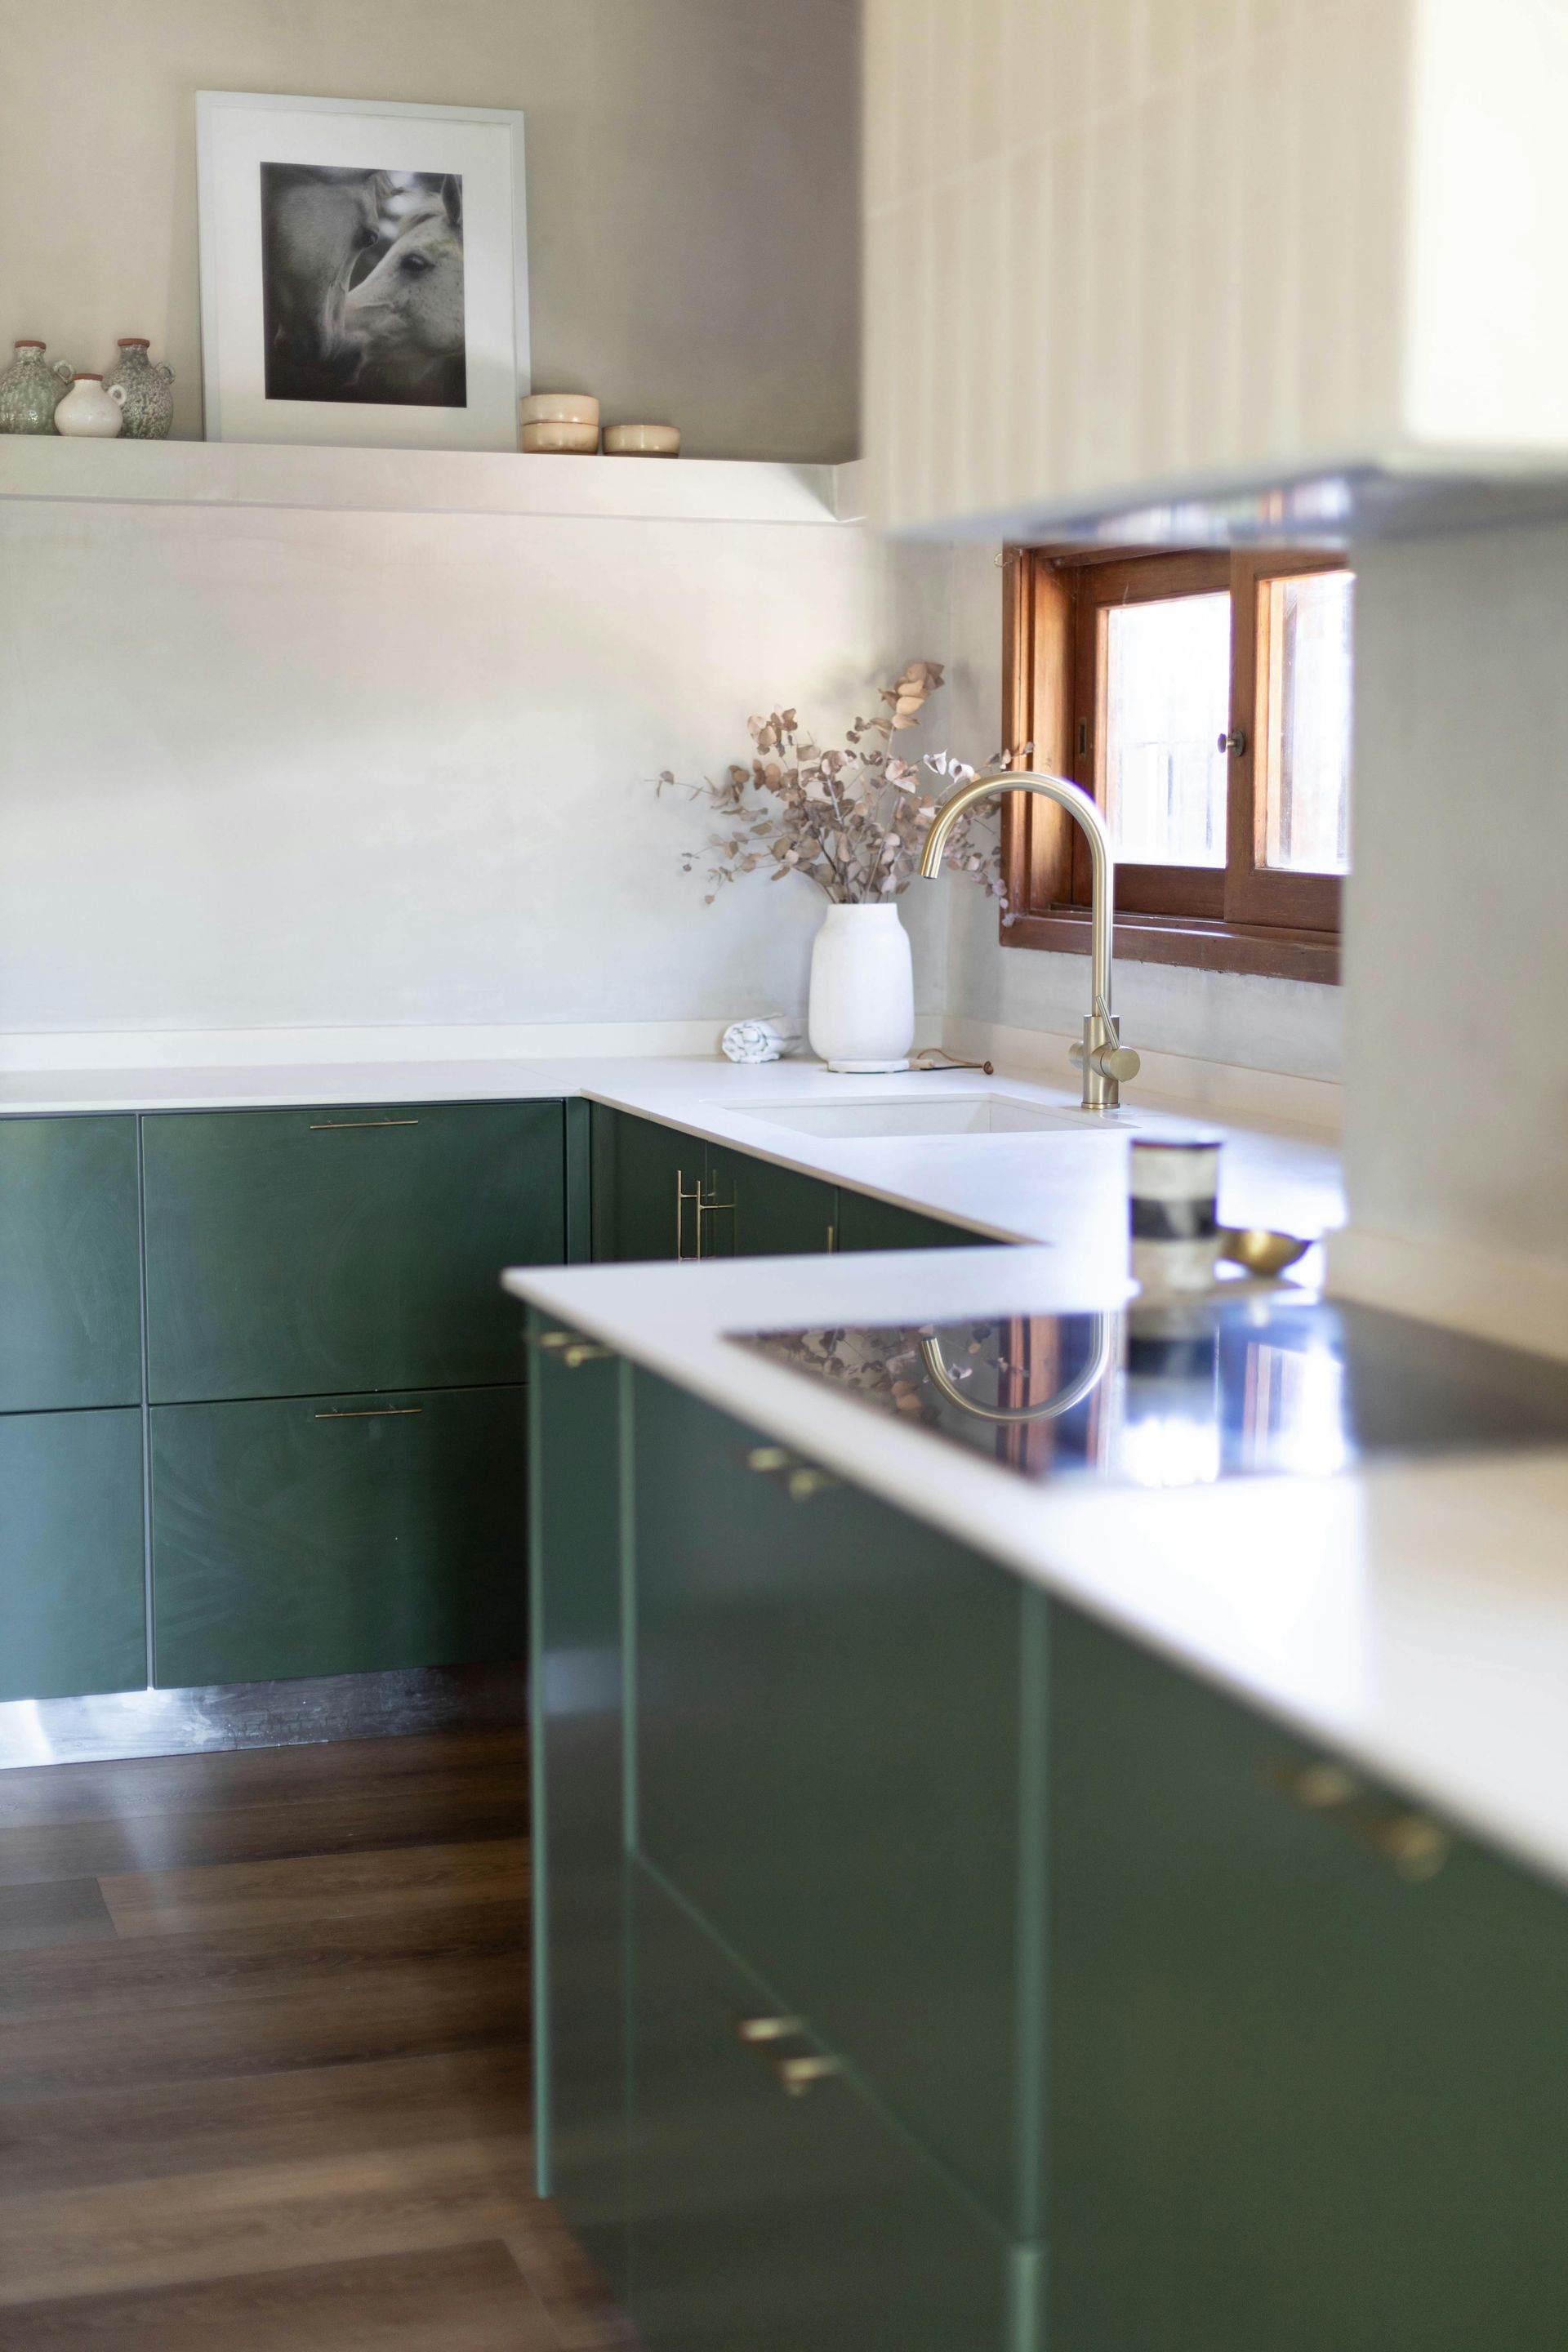
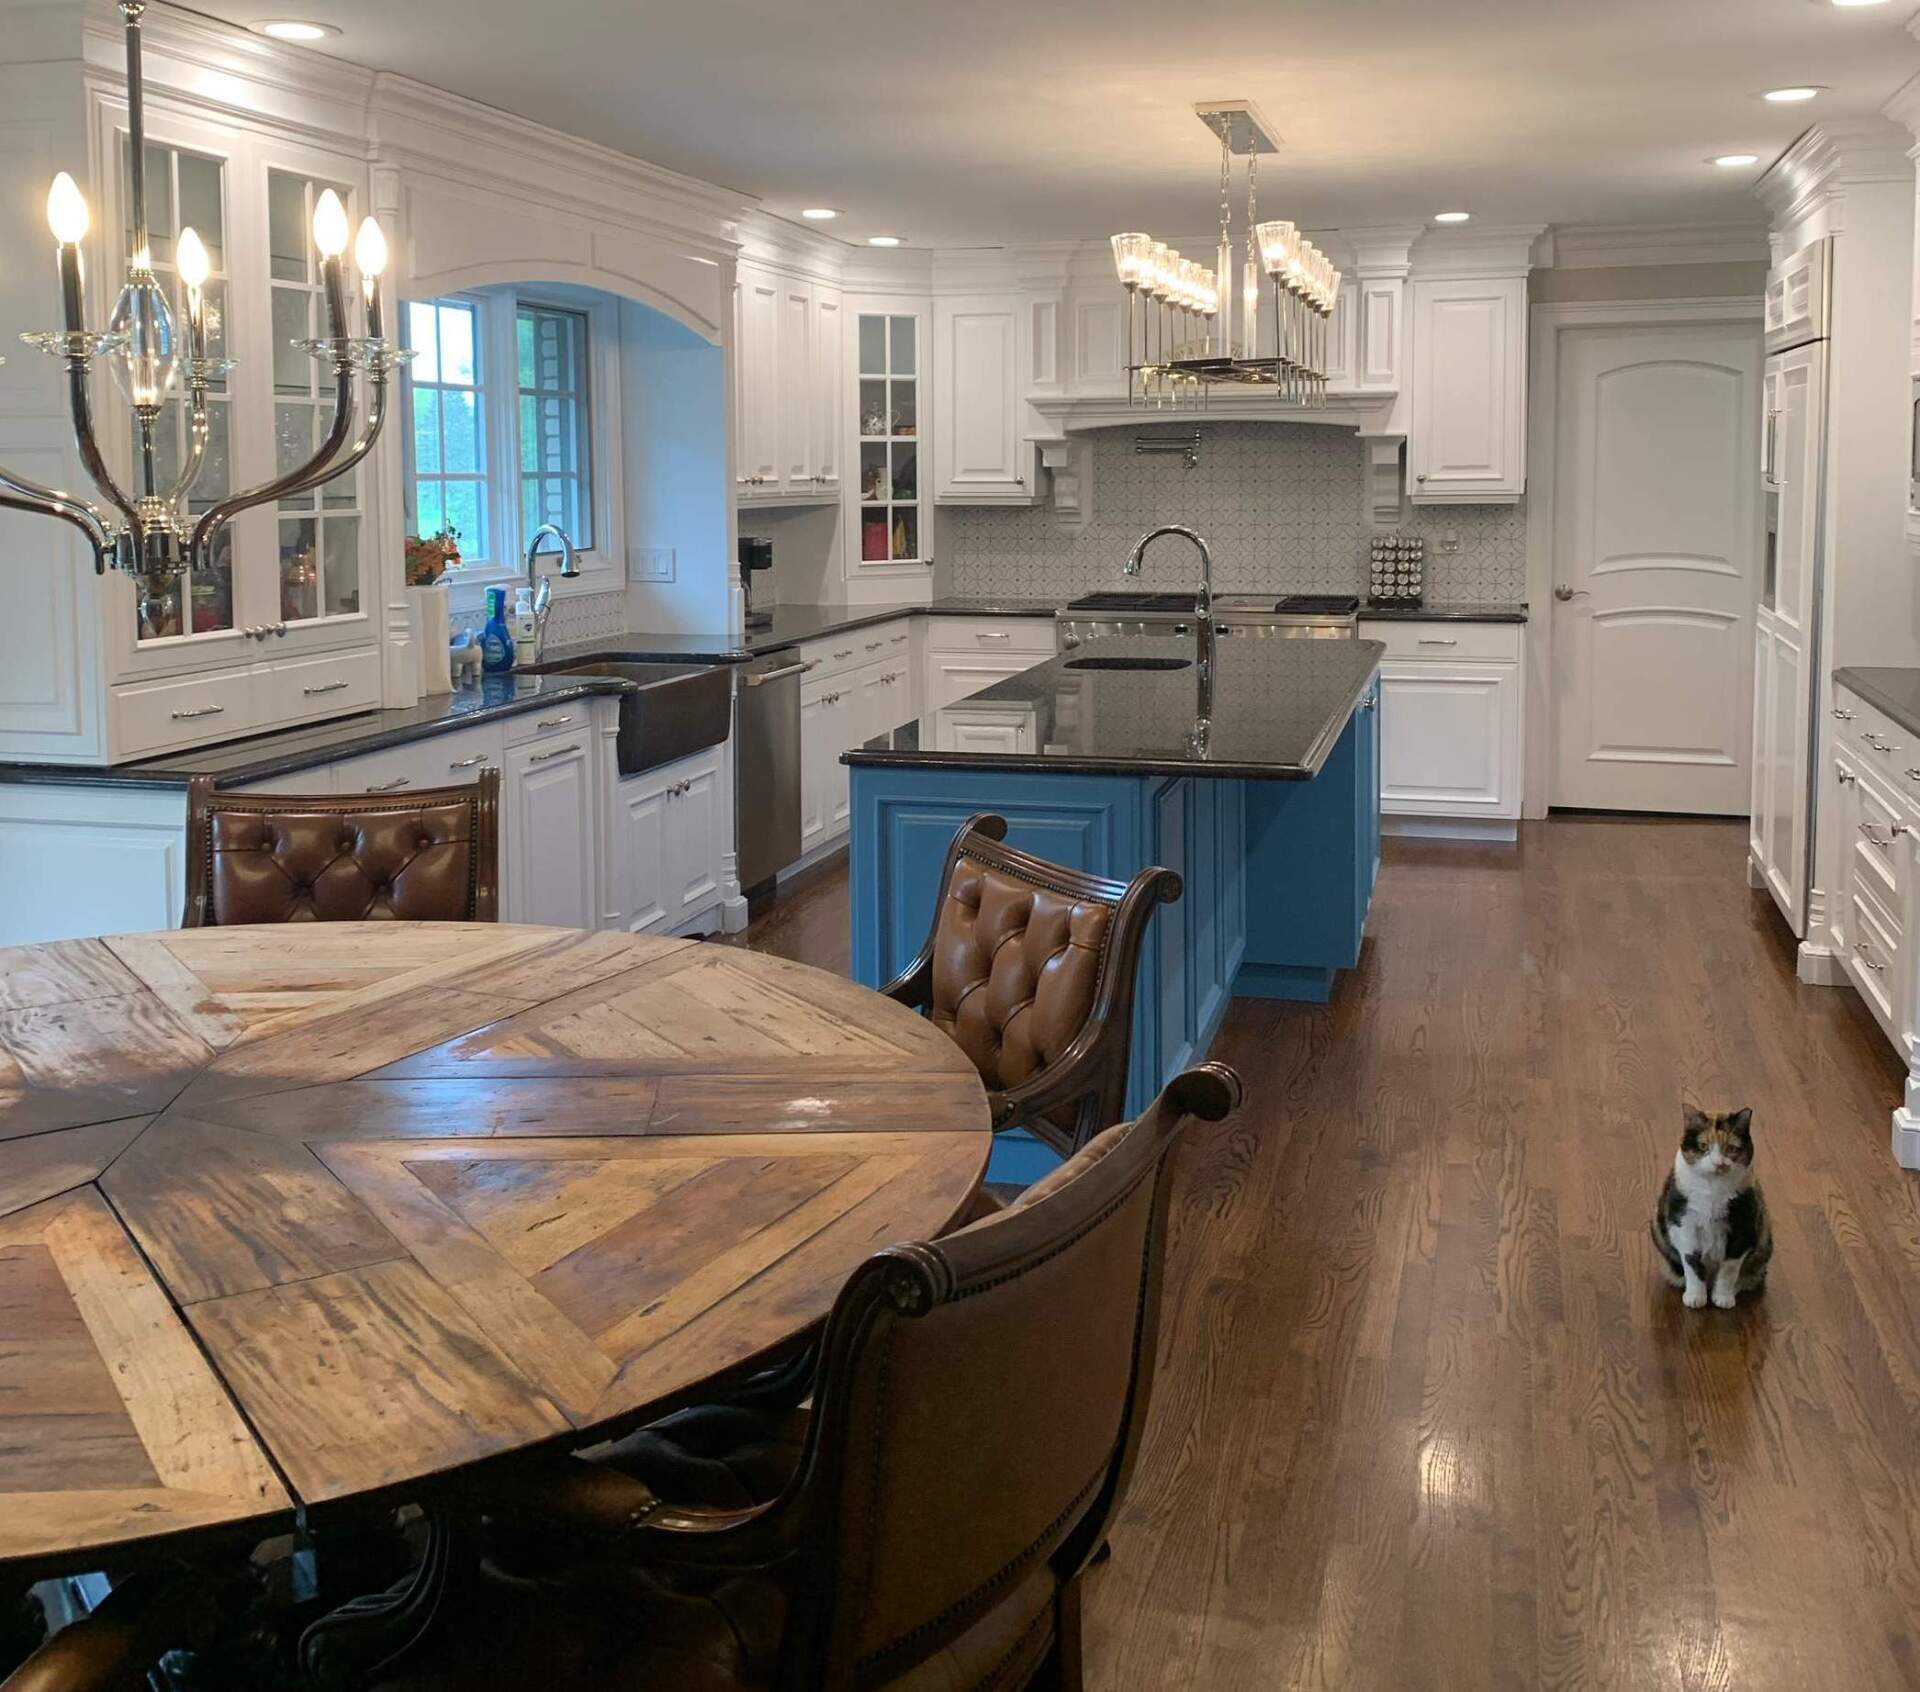
- Choose a color that works with your countertops, flooring, and backsplash. Cabinet paint shouldn’t have to carry the whole design on its shoulders.
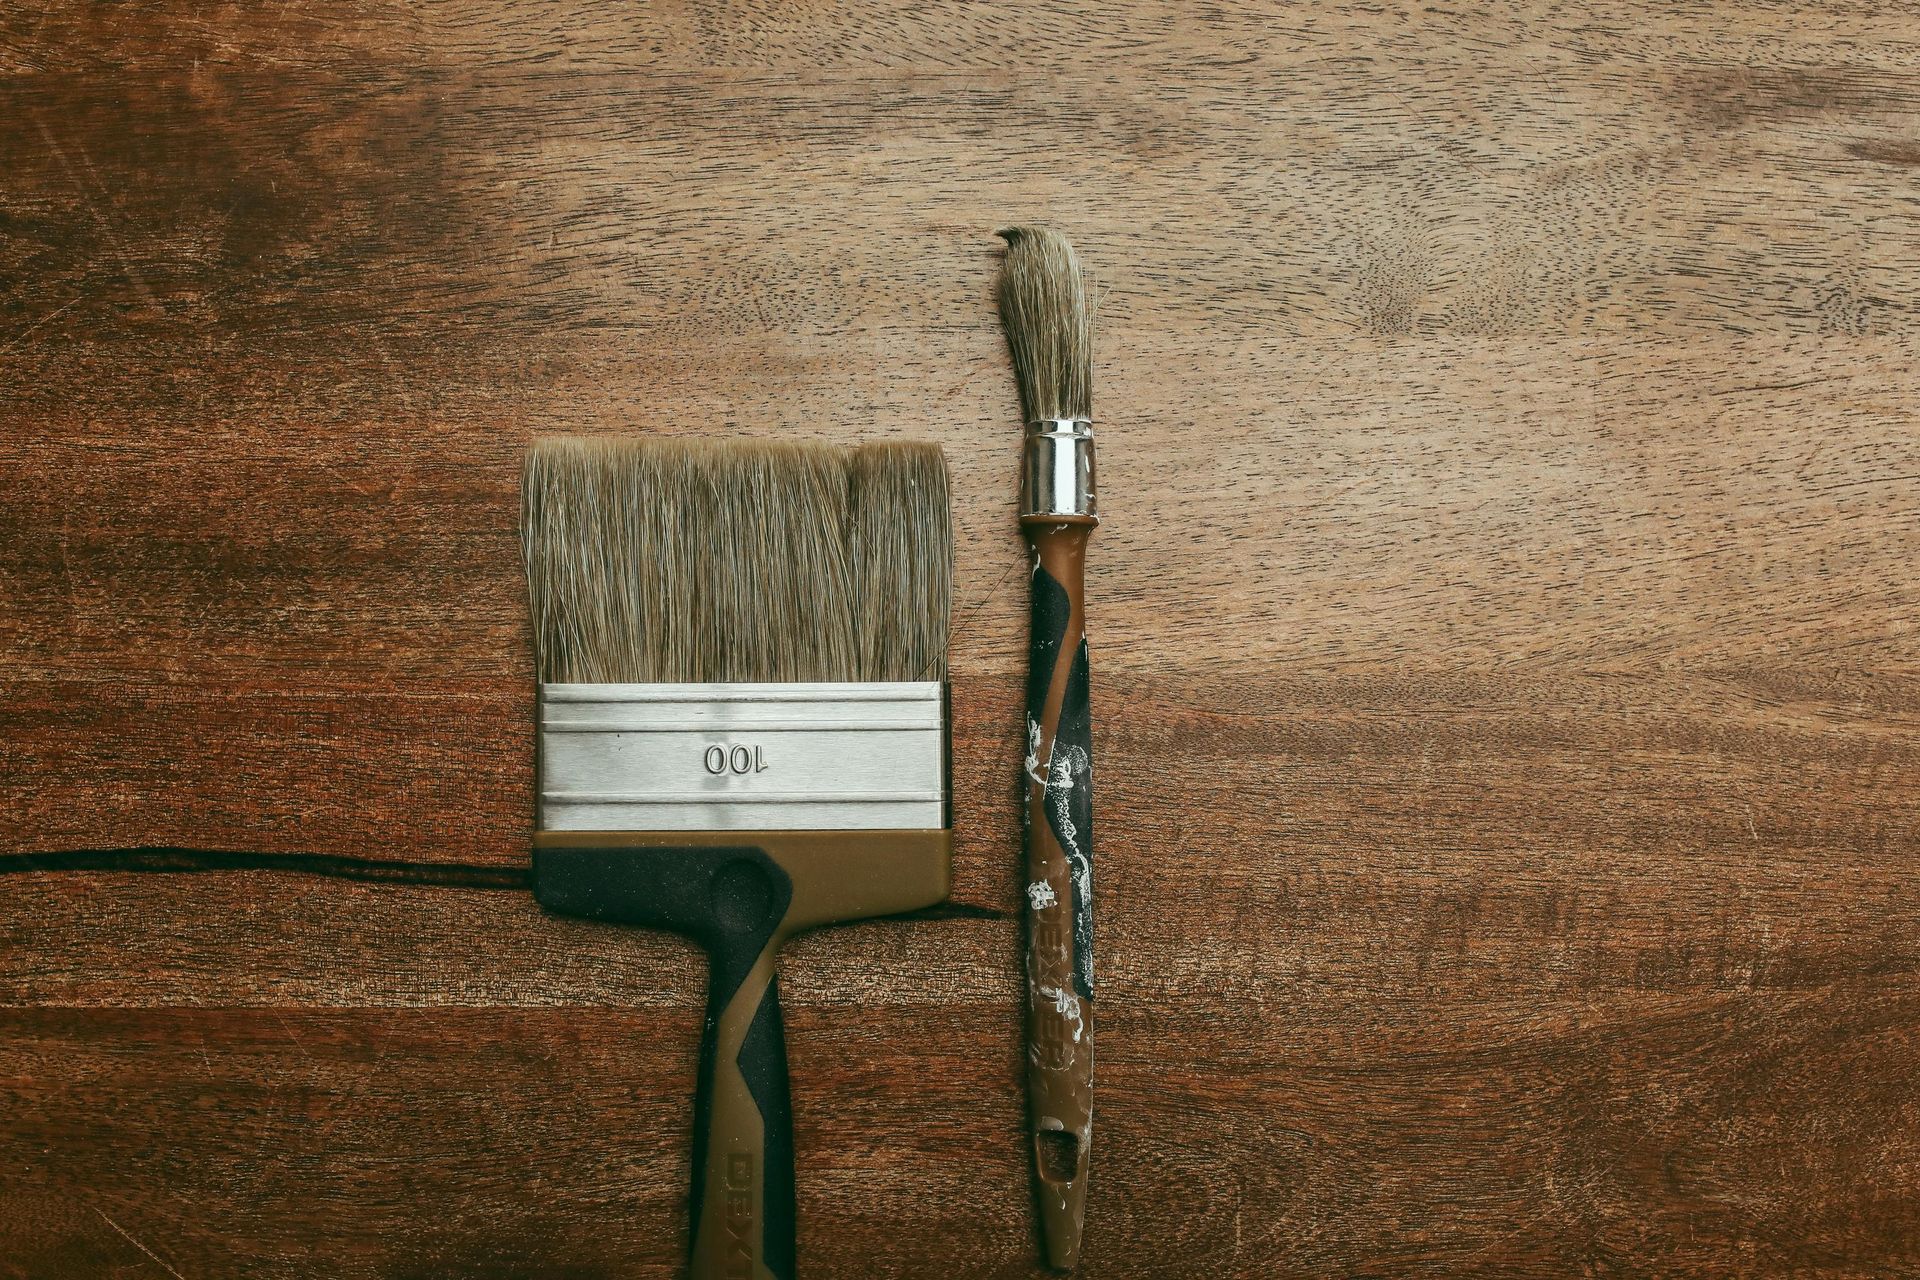
- Invest in quality brushes and rollers if you’re not spraying. Cheap tools shed bristles and leave streaks, making your hard work look sloppy.
- Keep dust at bay. Vacuum and wipe down surfaces before painting, and let each coat dry in a clean space. Even a tiny bit of dust can ruin that smooth finish.
- Don’t skimp on topcoat or sealer. A clear protective finish can add years of durability and make cleaning much easier down the line.
- Work in good lighting. What looks flawless in a dim room might reveal streaks and missed spots in daylight. Bright light helps you catch mistakes before they dry.
The Bottom Line
Painting kitchen cabinets is one of the smartest ways to refresh your home without the cost of a full remodel. Done right, you’ll end up with a gorgeous, durable finish that lasts for years. Done wrong, you’ll be staring at chipped edges and sticky doors every time you reach for a snack.
Then again, if you’d rather skip the trial-and-error, Jondec Painting is ready to step in! We’ve been transforming kitchens since 1987, with the tools, techniques, and experience to give you the beautiful finish your cabinets deserve.
No mess. No stress. Just a brighter, better kitchen you’ll love walking into every day.
Share
Let's Talk Paint!